Benro GD36PT
Disclaimer: Throughout this write-up there are behind-the-scenes images featuring both the Benro GD3WH 3-Way Geared Head and the Benro GD36PT Geared Drive Three-Way Head. Full equipment links are listed at the bottom of the review.
As a photographer based in New Zealand with a strong passion for our endemic biodiversity, my main focus is our macro fauna, though I also love photographing native birds, plants, fungi and landscapes. Living in such a stunning place with such amazing and unique biodiversity is truly special, and having the ability to slow down and capture it is simply rewarding and genuinely inspiring.
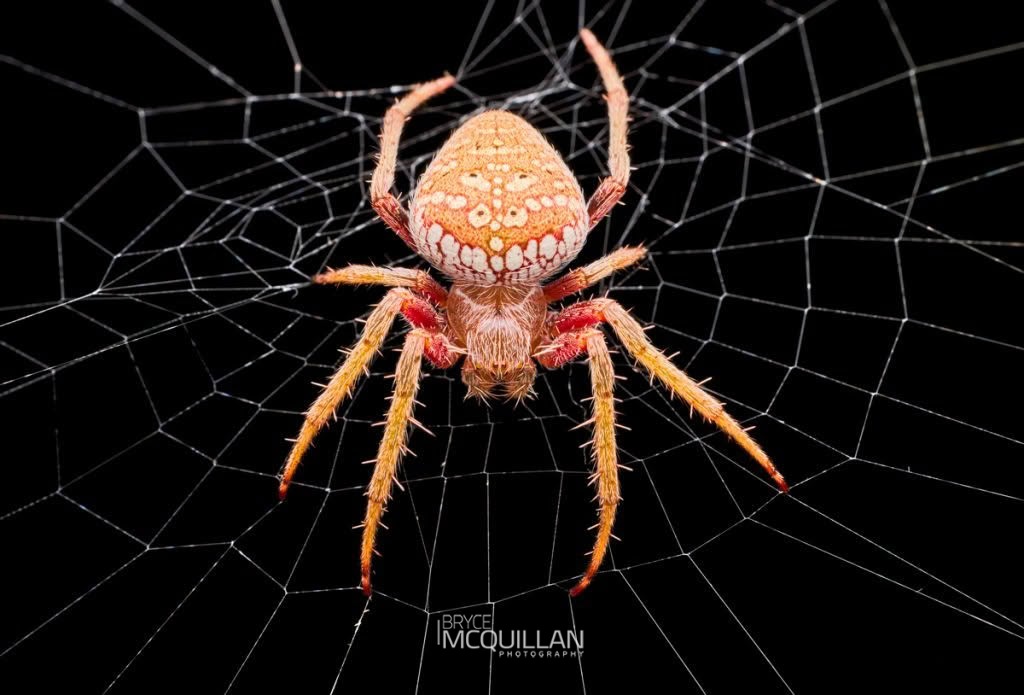
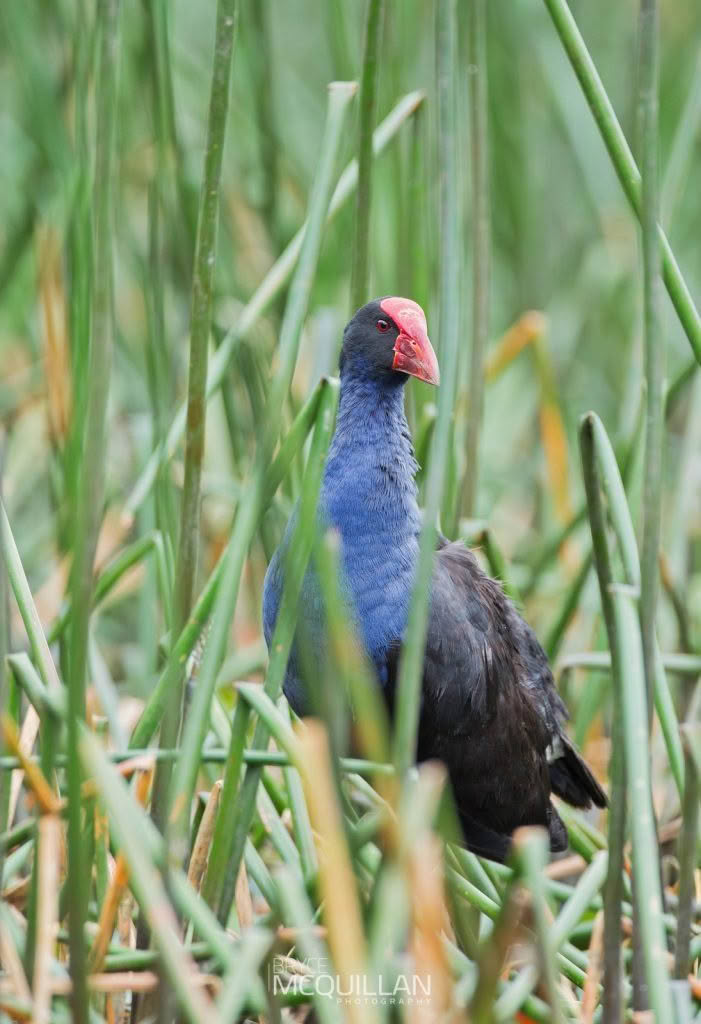
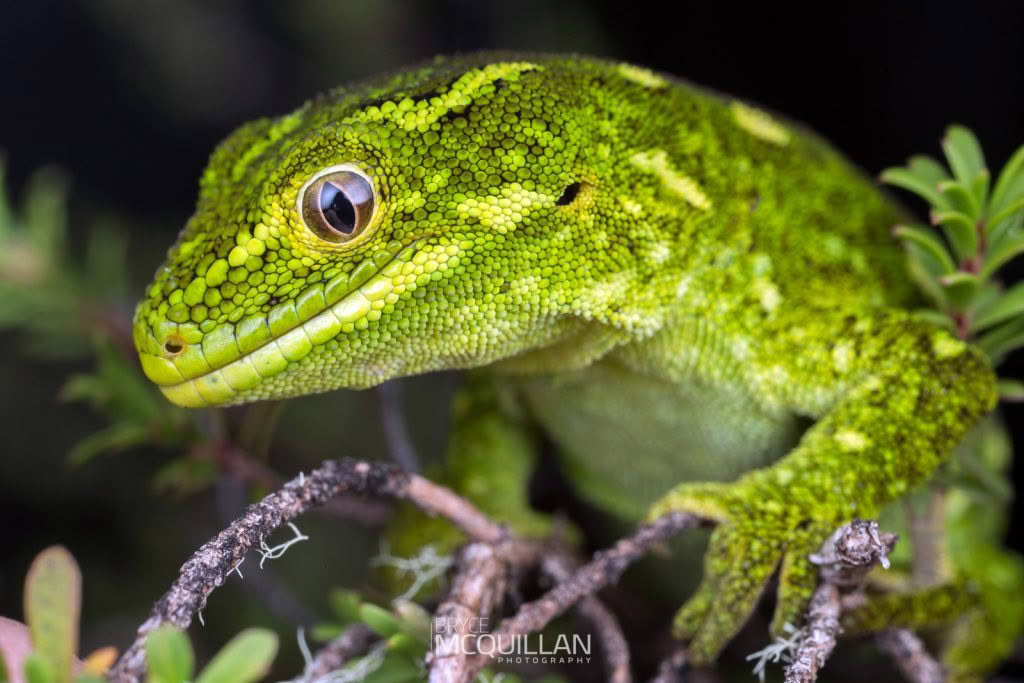
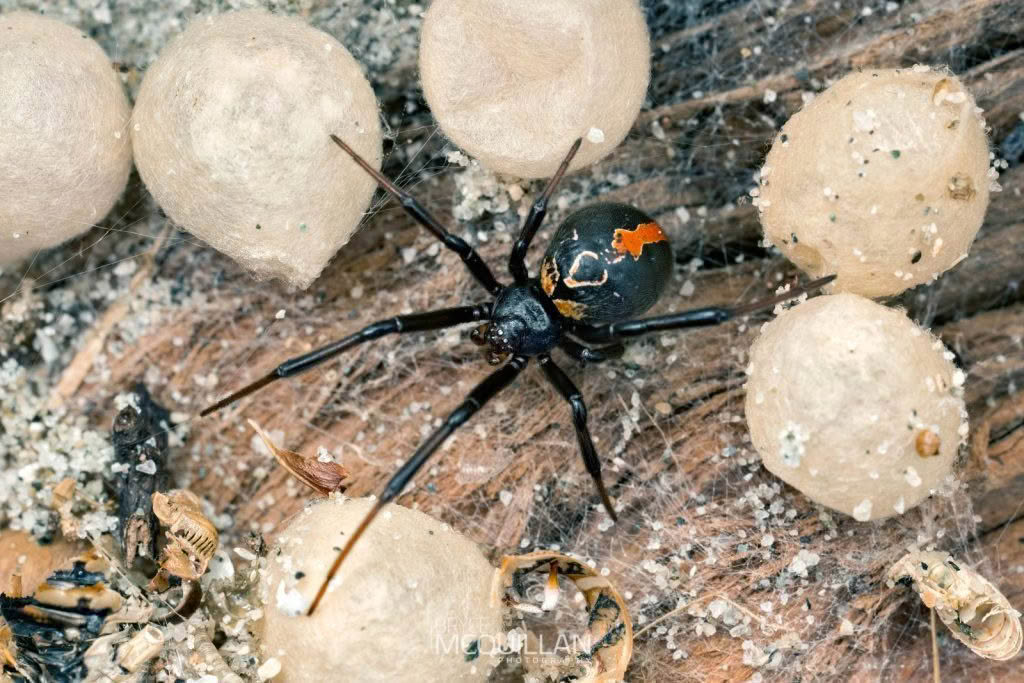
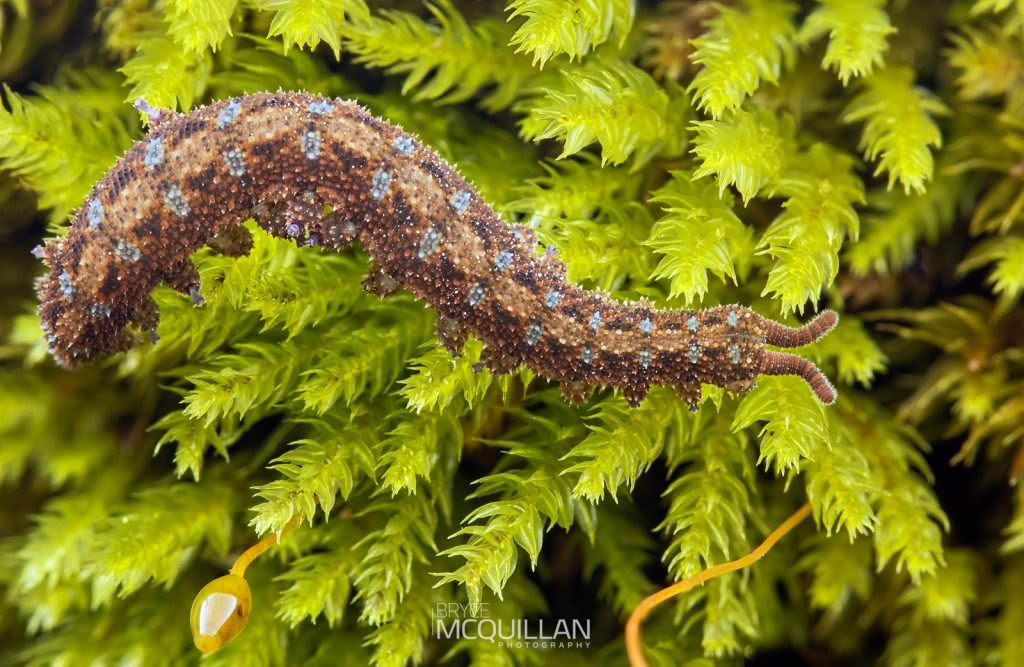
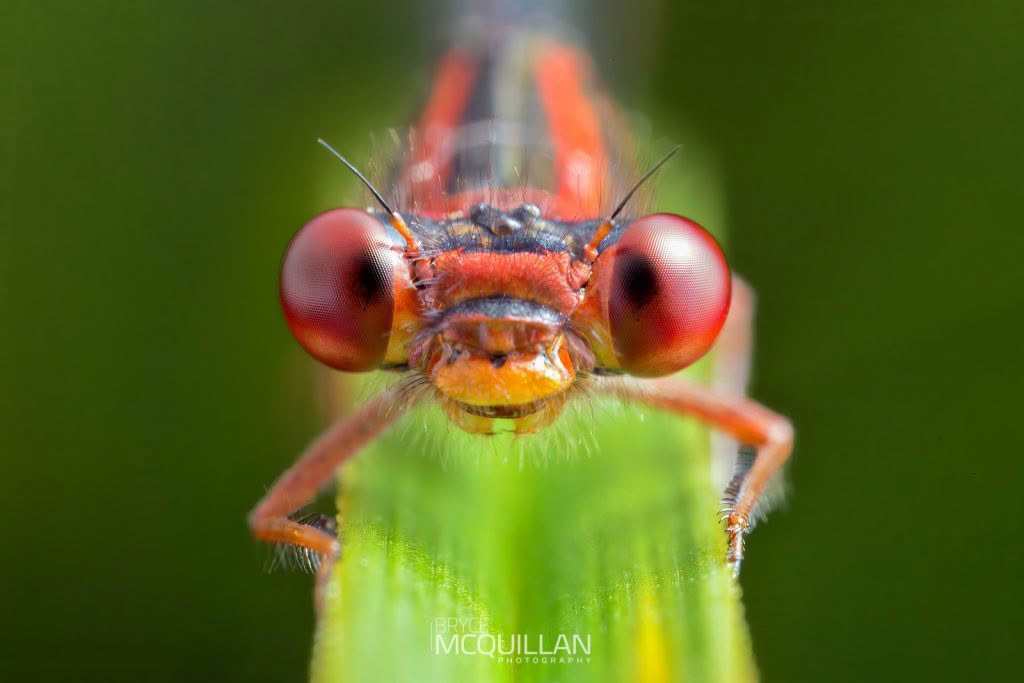
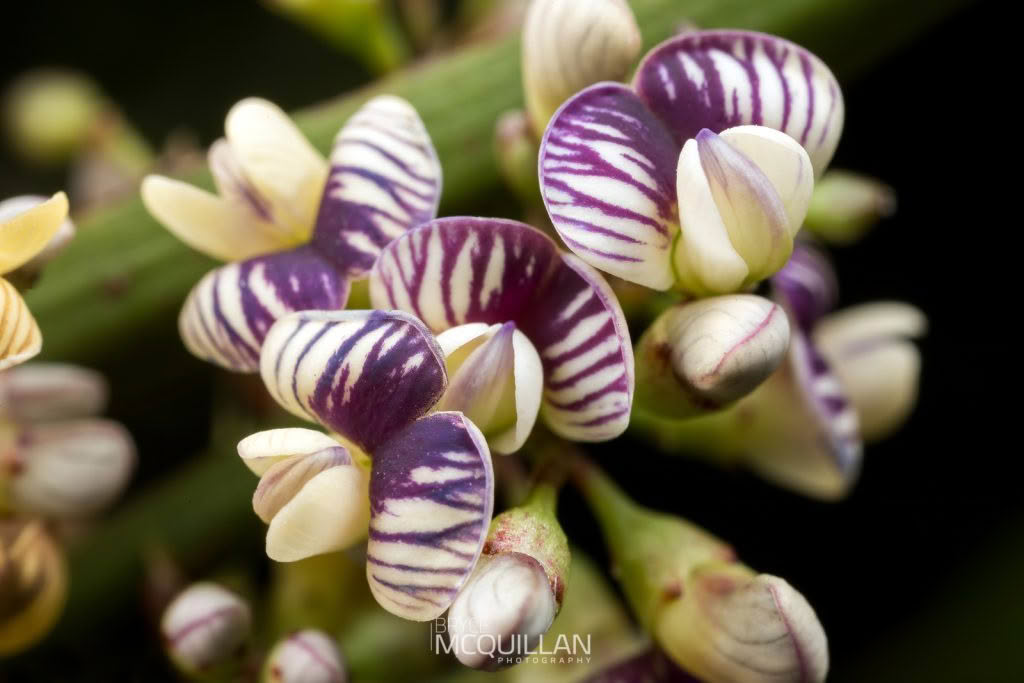
The more control I have, the better the photograph tends to be.
The more control you have over the process of taking a photo, the better the result tends to be. This is where slowing down and relying on good equipment really earns its place. For me, a solid tripod setup is one of the most valuable tools I own. A tripod lets you lock down your composition and hold your settings steady, freeing you to focus on what matters most: choosing exactly when to capture that moment.
This is especially true in landscape photography, where the light is forever changing and the perfect conditions are often fleeting. A sudden burst of colour at sunrise, mist lifting off the hills, light breaking through after rain, or an aurora that flares for only a few minutes before fading away. These moments arrive once and rarely return in quite the same way, so being set up and ready is everything.
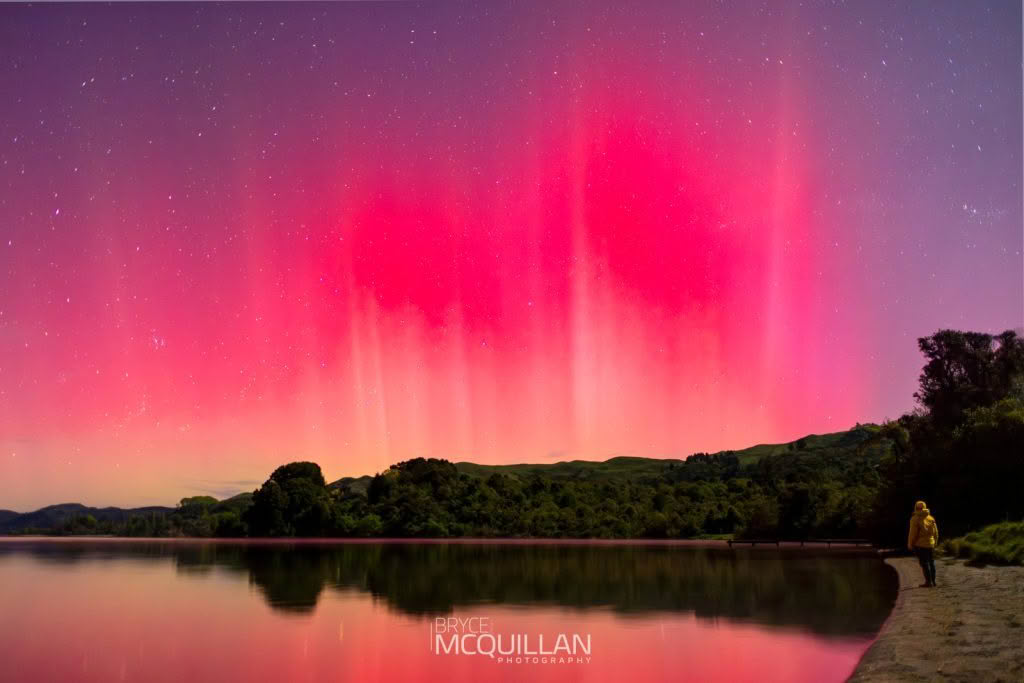
For us as photographers, there is a constant battle to balance weight against functionality when it comes to gear. The thought of spending more money and adding more weight to the kit, all for something to simply sit the camera on, rarely feels like a priority. I think this is one of the biggest pitfalls for amateurs or anyone just starting out: the idea of spending $500 to $1000 on a tripod seems almost mad.
That was until a good friend, and an amazing wildlife photographer based here in New Zealand, Craig McKenzie, put it to me plainly. He said I was holding around $5,000 of camera gear, about to sit it on a cheap, unstable tripod, and yet I was worried about the cost of the tripod. In that moment, something clicked.
He went on to point out a few other things. The cheap tripod I had used a braced A-frame design, where struts connect each leg to the central column. While that adds a bit of rigidity on cheaper tripods, it also locks the legs into a fixed spread. It tends to add unnecessary weight and bulk too, as it does not fold down as flat. With the legs held at that fixed angle, you simply cannot splay them out wide to get low to the ground or work at unusual angles.
He then showed me his own tripod, which had no centre column and independent legs that could spread right out flat to ground level. That let him drop down low and shoot face on with his subjects. On top of that, my lightweight aluminium legs did little to dampen vibration in the wind, meaning my images would likely come out soft anyway. In other words, the $120 or so I had spent was largely defeating its own purpose.
To get a sharp, well-exposed image, stability is everything, whether you are shooting handheld or off a support. This is where a tripod becomes a photographer’s best friend, even if it means carrying the extra size and weight.
Finding a sturdy, reliable tripod is always a tricky balance between weight, capability and cost. By capability, I mean how flexible the tripod is in the field: how high it extends, how low it can go, whether you need a centre column, and how far the legs can spread. With so many brands and styles on the market, settling on one that ticks all those boxes can be overwhelming.

Why I stopped relying on ball heads.
When it comes to finding a composition and setting up the camera on the tripod, the more freedom and precision you have with the tripod head, the better. To achieve that fine level of control we often need to look at more specialist tripod heads, such as geared heads.
Ball heads are brilliant in many ways, but they do have a tendency to shift slightly the moment you release the lever. Being able to lock in a clean, level, well-framed image in camera, right there on the tripod, is not only rewarding, it also lets you focus more on capturing the scene itself.

At macro distances, tiny movements become big problems.
When it comes to macro photography, precise framing and composition becomes even more challenging. You are often working very close to your subject and at higher magnification, so even the slightest movement when reframing can throw the whole composition out. More often than not, you end up leaving extra space around your subject and cropping later in post to get the composition you had in mind.
This is something I battle with constantly. I did not buy a high-megapixel camera so that I could crop. For a lot of wildlife photographers, that extra resolution is all about reach, the ability to crop in on a distant subject. That is a perfectly good reason to want the pixels.
For the macro work I do, reach and magnification are not the issue. My challenge is stability, framing, and having a solid platform to work from, ideally with no vibration at all. The subject is right there in front of me, often only centimetres away, so what I really want is to fine-tune my composition precisely and get it right in camera.
That way I can concentrate on lighting the subject exactly as I want, then wait for the right moment to take the photo. Stability matters even more when I am focus bracketing, whether in camera or manually. For those focus-stacked images to come out cleanly, the platform cannot move at all between frames, so a solid, stable head is essential.

Over the years I had tried a range of tripods and heads. I have used tripods with a centre column that can be extended out horizontally, and even angled diagonally, and all the rest of it. Yet I always seemed to drift back to a tension ball head, simply for the ability to adjust the tension. With the tension set, loosening the lever meant the whole camera system would not drop away suddenly, giving me a little more fine control when repositioning the camera. Even so, I still found it difficult to lock off tightly while holding the camera in place, without introducing a little micro-movement into the composition.
This got me looking for other types of tripod head that might suit macro photography. At first I struggled to find much. Most macro photographers I came across were simply using ball heads. It was actually the landscape photographers who pointed me in the right direction. They kept talking about precision, and the importance of fine, controlled micro-movements from their tripod head, and that was what first led me to look into geared heads.
The GD3WH changed how I photographed.
A few years back, I finally made the jump from a ball head to a Benro GD3WH Precision Geared Head. At the time, I found it extremely hard to justify paying that much just for a tripod head. The geared head alone cost double what I had paid for the tripod and tension ball head I had bought only a couple of years earlier.
Making the switch to my first ever geared head completely changed how I felt about working on a tripod, not just for macro, but for my photography in general. I was no longer trying to fix composition issues afterwards in photo editing software. Instead, I found myself spending more time framing up the subject and really taking it in, which in turn allowed me to observe and learn far more about whatever I was photographing out in the field.
It slowed me right down, and made me enjoy both the process and the subject far more than I ever thought a tripod head could. I went from someone who never wanted to bring a tripod anywhere unless I absolutely had to, to someone who now prioritises it over many other pieces of equipment. For plant photography in particular, it has become an essential part of my kit.





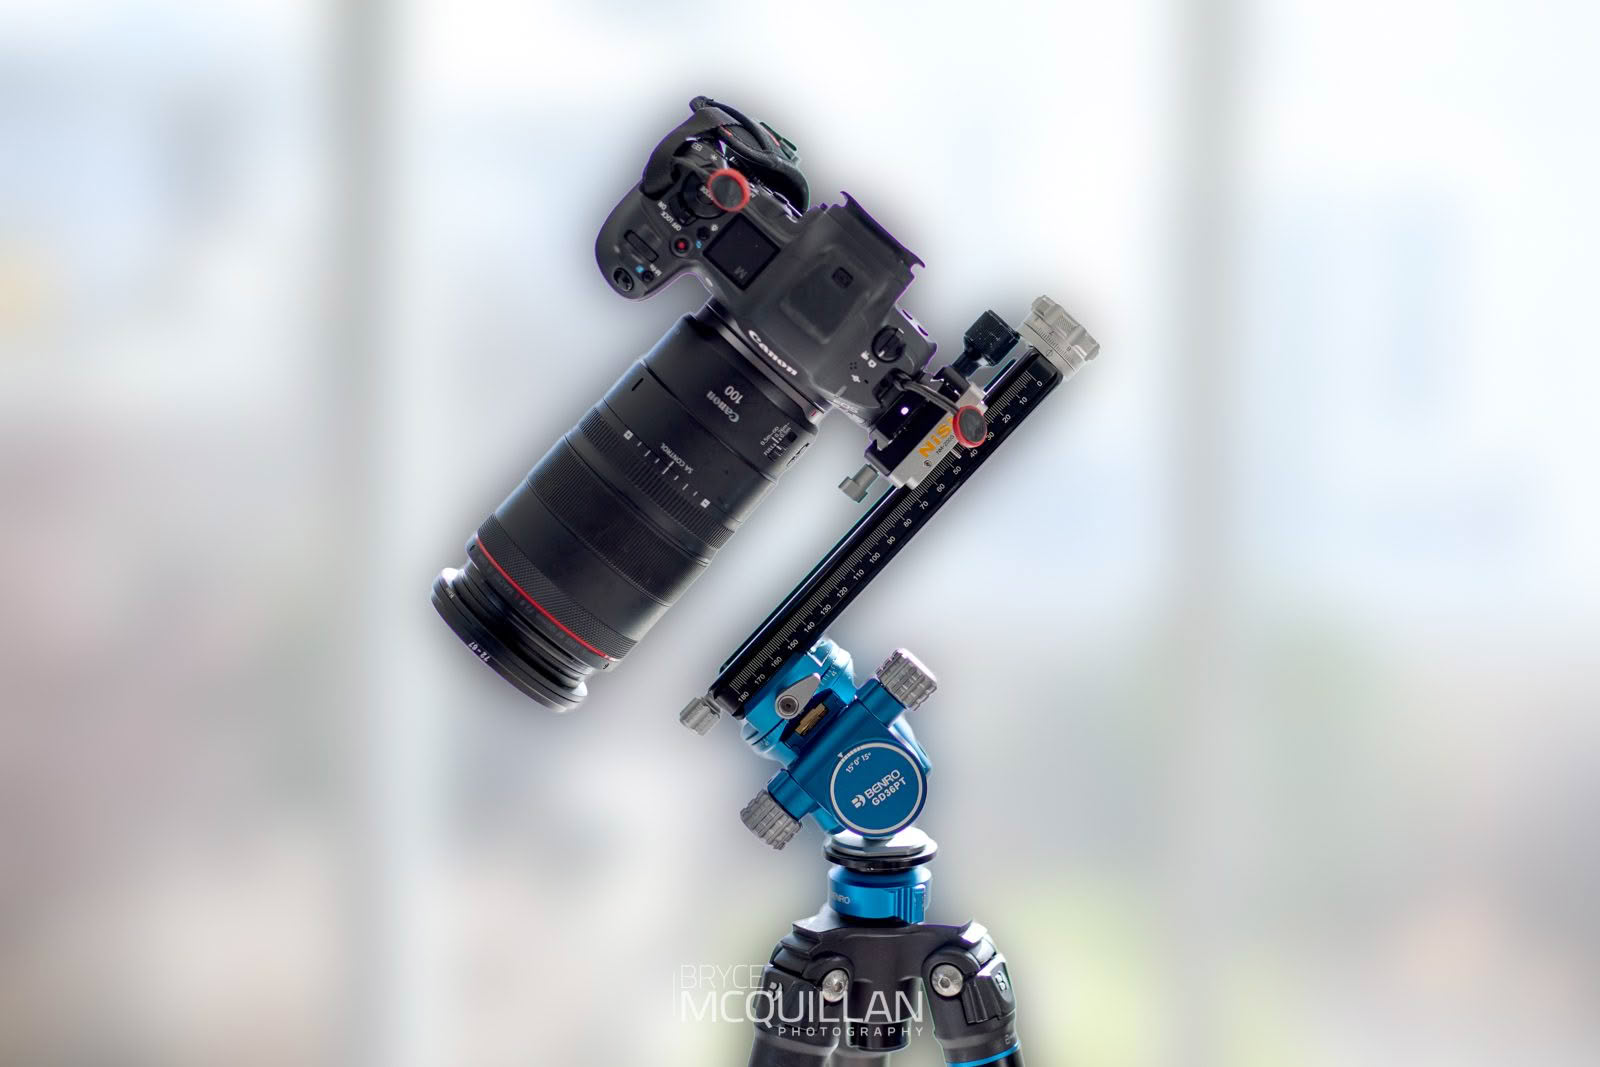
I later added a NiSi Macro Focusing Rail NM-200S to the top of the Benro GD3WH 3-way geared head, which gave me the freedom to slide the camera forward or backward by almost 40cm. This combination worked really well and opened up a lot of compositional flexibility.
Below shows the NiSi NM-200S mounted on top of the Benro GD3WH, demonstrating the length of travel that can be achieved with this setup.
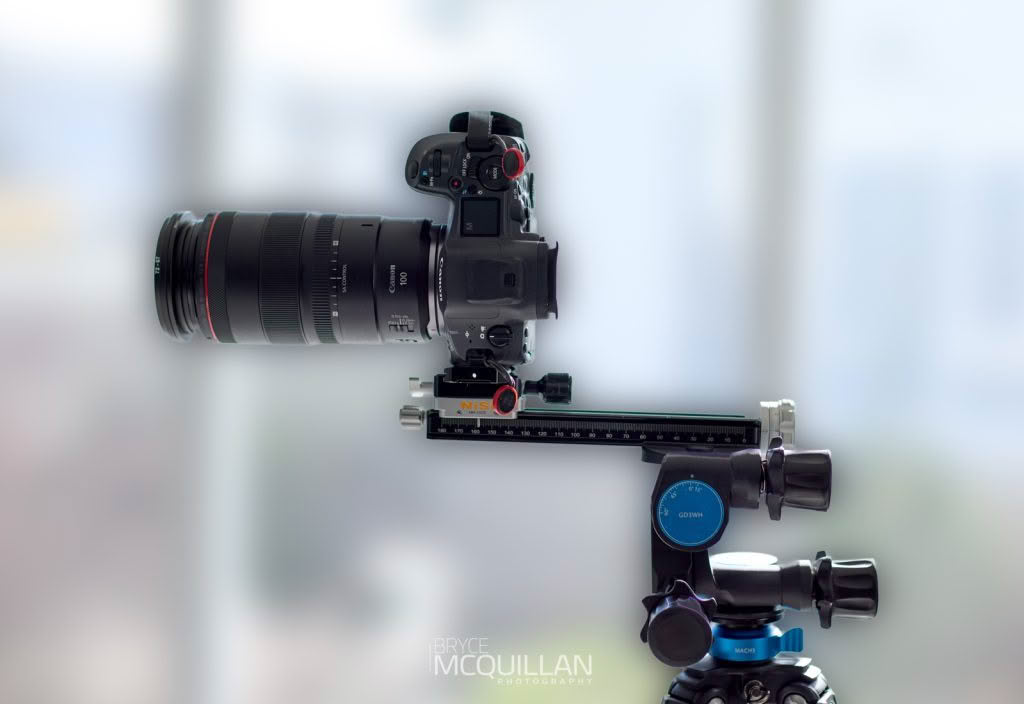
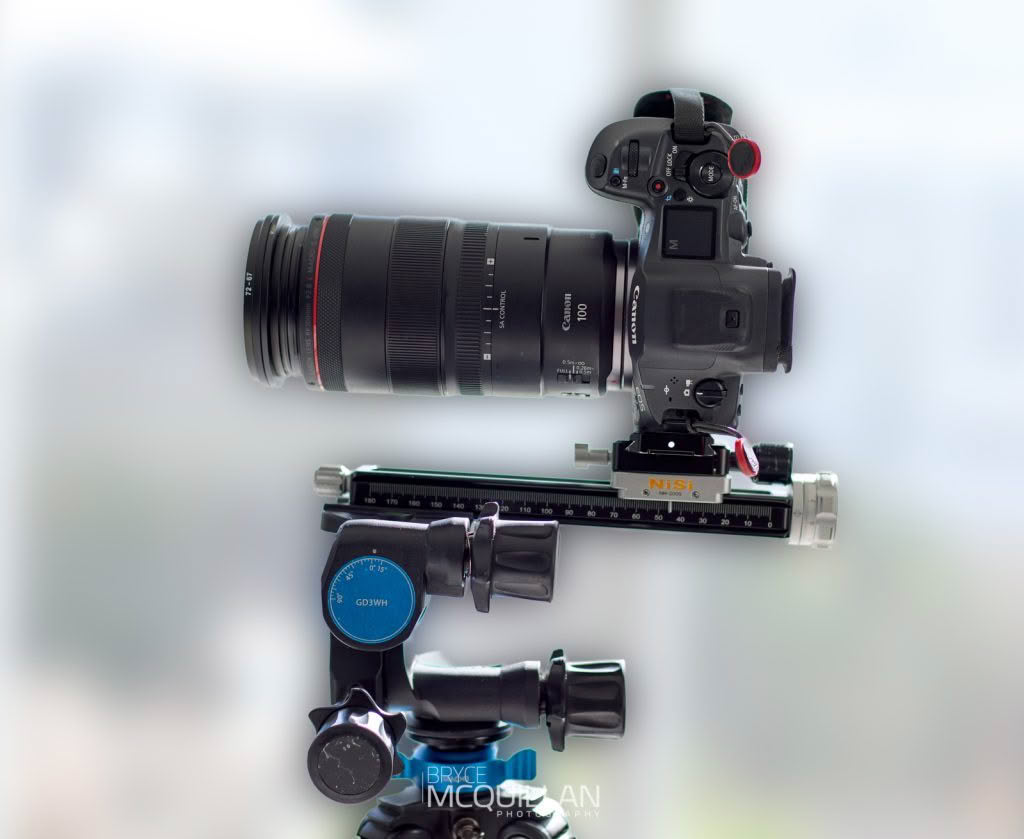
The Benro GD3WH works by giving each of its three axes two separate controls. There is an individual release that lets you swing the camera quickly into a rough position, and a separate geared knob that then applies tiny, precise adjustments once you are close to the composition you want. This two-stage system is what makes a geared head so accurate. You get the speed of a rough set-up, followed by the fine control to dial in the exact frame.
As accurate as it is, though, the GD3WH does come with a few limitations. The first is the design of the adjustment knobs. They move well enough in normal use, but they have a pointed, star-shaped grip. The trouble comes when there is a heavier load on top, such as a full-frame camera with a macro lens. The extra weight means you have to grip and twist the knobs harder to move the head, and those sharp points start to dig into your fingers.
The bigger limitation, for me at least, is the range of tilt. The GD3WH cannot tilt all the way up or down. For example it cannot go vertical. This is what stops it being the perfect all-rounder. It is a precision head first and foremost, designed to be accurate rather than fast or endlessly flexible, and for most of what I shoot that trade-off is worth it.
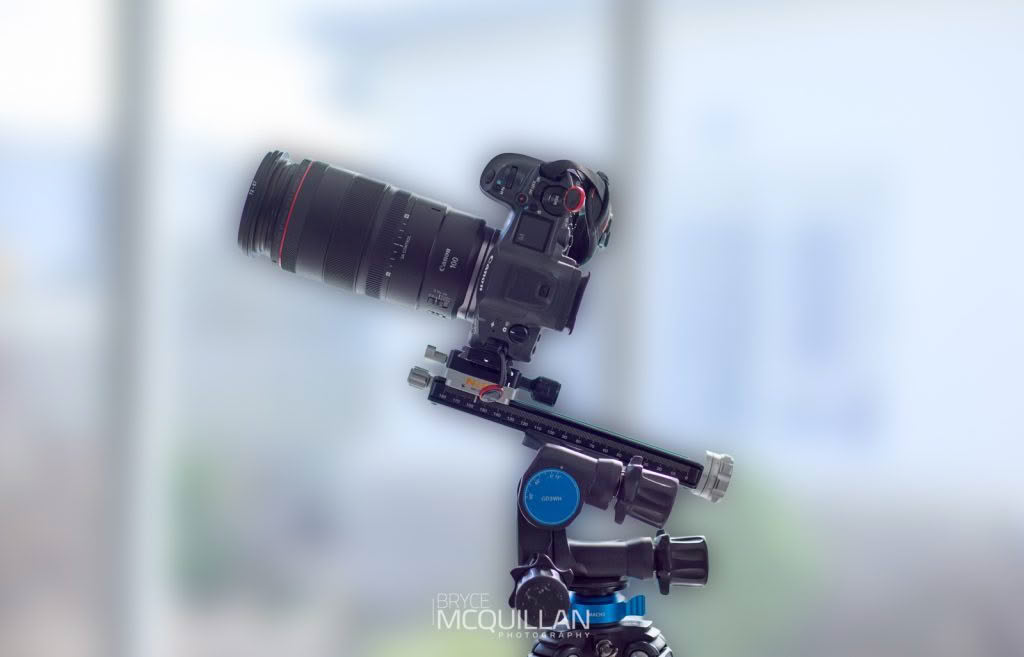
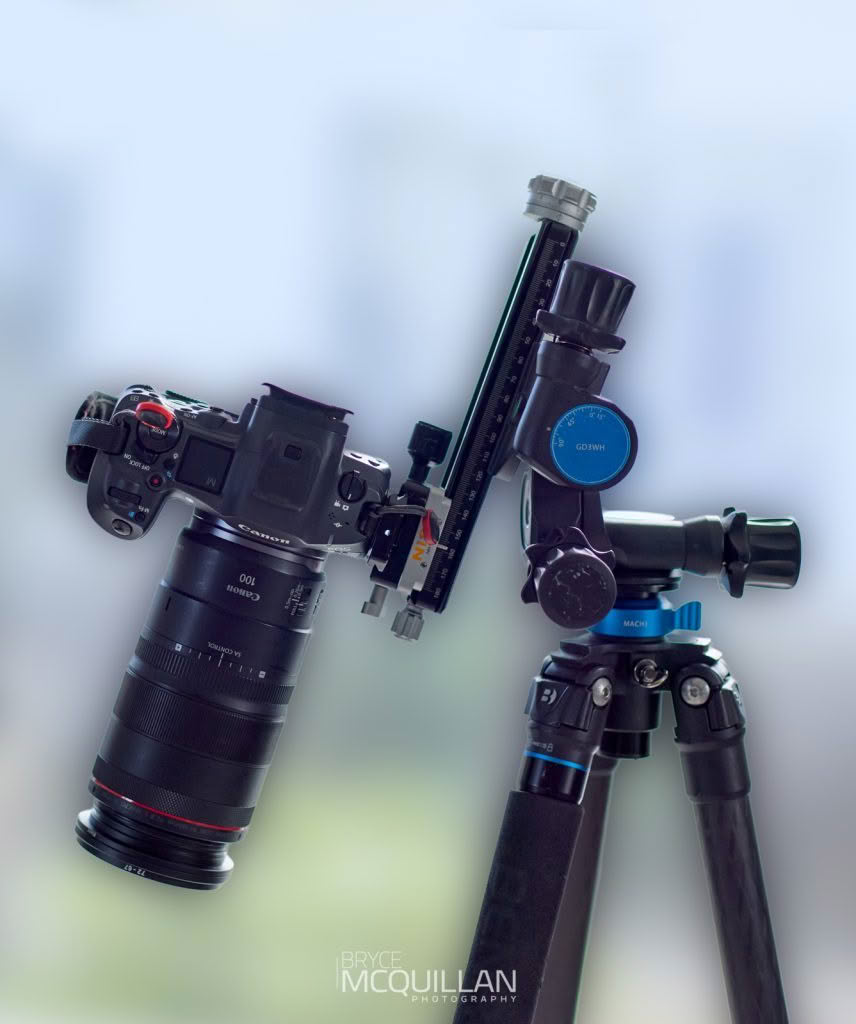
The GD3WH is also a solid and fairly heavy geared head, but this is not a bad thing. You want a sturdy platform, because a head that is too light can move or flex under load, which is the last thing you want when working off a tripod. The head weighs 740 grams on its own, so it is certainly not a lightweight option, and adding the NiSi rail takes the combination over 1kg. Despite these limitations, I would still favour this head over almost any other I owned at the time.
The GD36PT looked strange. Then it made complete sense.
Earlier this year, I noticed that Benro had released a new type of three-way geared head, the Benro GD36PT. It was a design I had not seen any other brand offer. It combines a ball head, mounted upside down, with a geared head. When I first saw it, I was puzzled, a little confused, and honestly quite sceptical. Ball heads do not usually cope well under load when it comes to precise movement, so the concept seemed almost contradictory.
After watching and reading a few reviews, it quickly became apparent that this new head was solving one of the biggest issues with geared heads. It paired the quick, smooth positioning of a ball head with the fine, accurate control of a geared head. In theory, this would let you rapidly get the camera into roughly the right position, then micro-adjust from there.
The more I looked into it, the more it made sense. So I reached out to Photo Warehouse here in New Zealand to see if they had any in stock. Luckily for me they did, and within a couple of days one turned up on my doorstep.
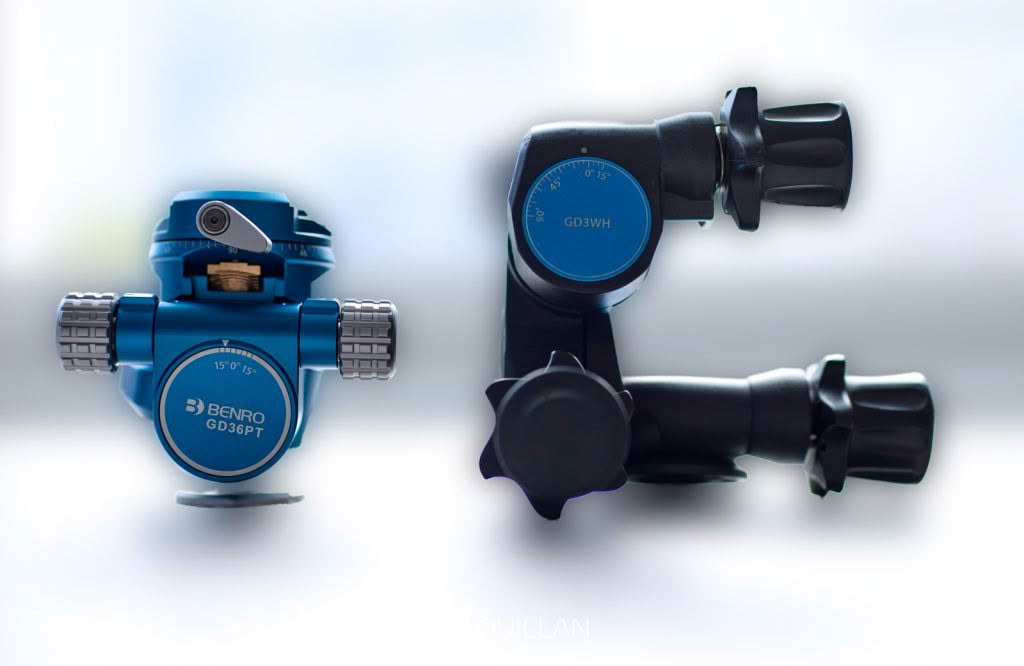
Straight out of the box, the GD36PT felt lighter, smaller and more user-friendly, even though on paper the two heads are much the same. That was the first thing that surprised me, or rather, that there was no weight penalty at all. The GD36PT comes in at 740 grams, exactly the same as the GD3WH, yet it is noticeably more compact, measuring around 9.8cm wide compared with nearly 14cm on the GD3WH.
One of the biggest drawbacks of the GD3WH was how high it sat on the tripod. It was so tall that it almost cancelled out one of my tripod’s best features, the ability to go flat to the ground. Getting around this meant mounting the head upside down through the centre column, which was no simple task. In fact, I did it once, muttered a fair few colourful words, and never attempted it again.
That height also made the head awkward to pack. In all honesty, it was so bulky that it rarely made it into my backpack at all. The size comparison below shows just how much smaller and more compact the new head is.
Where the two heads really differ is in the design. The GD3WH is a pure three-way geared head, with a separate release and a separate geared knob on each of its three axes. The GD36PT takes a different approach, combining an inverted ball head for quick, rough positioning with brass geared adjustments for the fine-tuning on two axes, pitch and tilt.
In practice, this means I can loosen the ball, swing the camera roughly where I want it, lock it off, and then use the geared dials to set the exact frame. It really is the best of both worlds: the speed of a ball head with the precision of a geared head.
I will admit it took me a little while to get used to the new layout, but the knobs themselves are beautiful to use, smooth, and with none of the resistance I had on the GD3WH. The ball can also have its tension adjusted, so it can be loosened off and used in almost the same way as a tension ball head, which adds another layer of flexibility.
This hybrid design also solves the two main frustrations I had with the GD3WH. First, the stiff, toothed release knobs are gone. Rough positioning now happens through the ball, which is far easier on the hands, especially with a weighted camera on top. Second, and most importantly for me, the GD36PT has a 90-degree vertical slot, allowing the camera to drop all the way down for true overhead, straight-down photos.
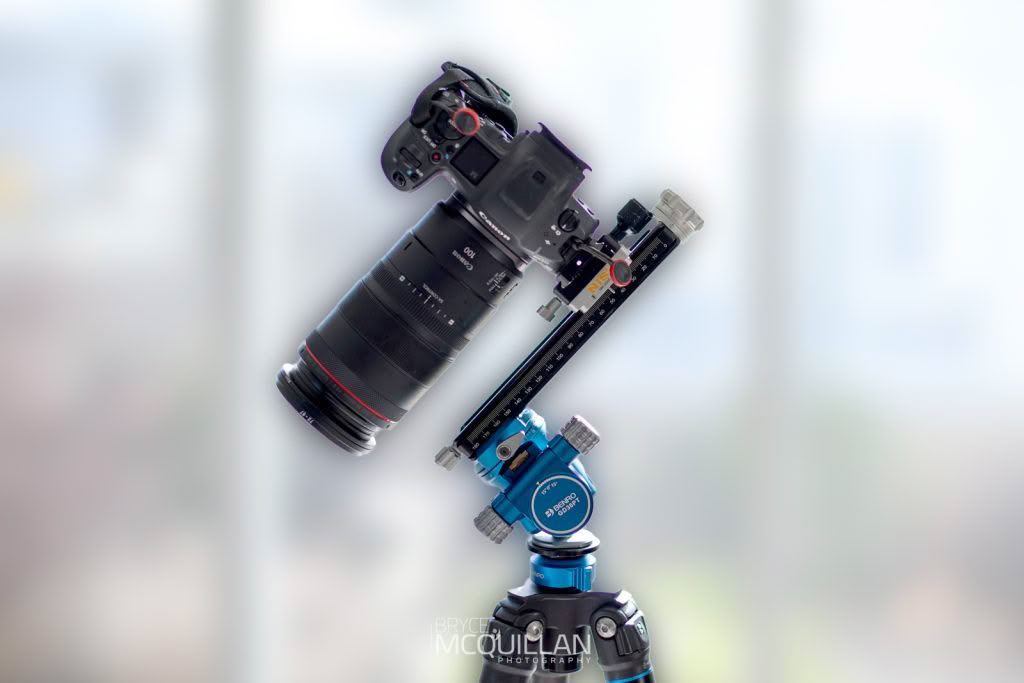
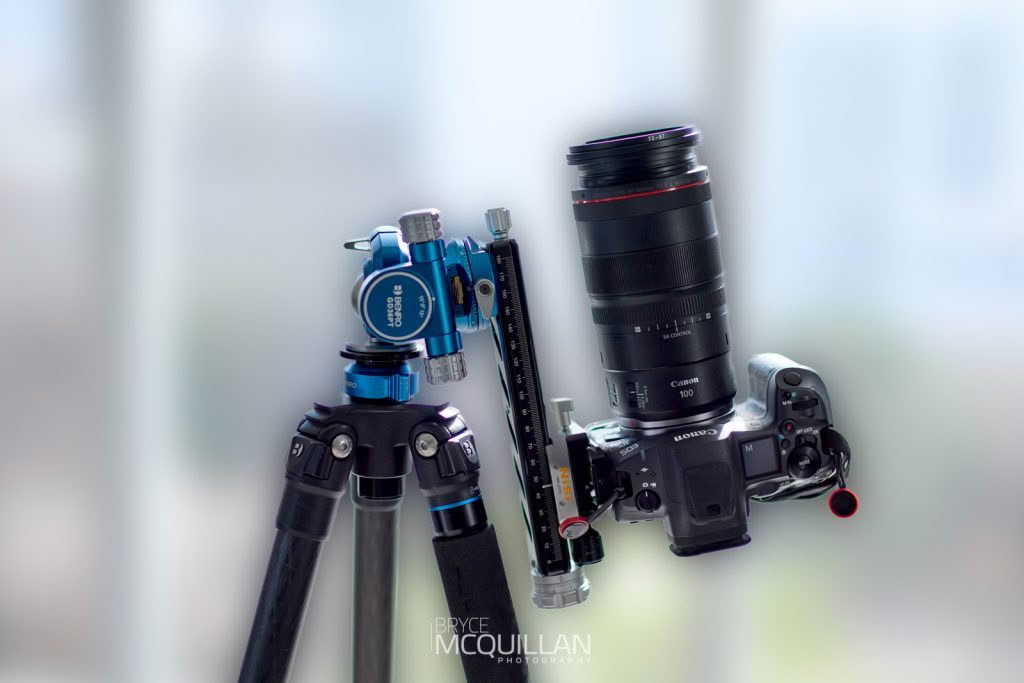
Despite the “3-Way” in its name, the GD36PT does not really feel like a true three-way geared head. It only offers geared control on two axes, pitch and tilt, with panning being manual rather than geared. The geared range is also relatively small, around 8 degrees of pitch and 15 degrees of side-to-side tilt, so it relies on the ball for any larger movements.
The GD3WH, by contrast, gives you geared control across all three axes, with more travel on each. So while the GD36PT is faster, more compact and far more flexible overall, the trade-off is a narrower band of precise geared adjustment before you need to reset using the ball.
In practice, though, this has not been an issue for me. Most of the fine adjustments I am making are so small that the limited geared range simply does not come into play. I have not once found it to be limiting in the field.
The head changed what the entire tripod could do.
Having the flexibility and freedom of the ball head does not just let me use the GD36PT on its side, which is ideal when paired with a lens that has a tripod collar. It also lets me work at unusual angles, and combined with the rotation of the lens foot collar, gives me the extra freedom to get right down low to the ground while still angling the camera exactly where I need it.
With the precision of the geared fine adjustment on top of that, I can perfectly centre my subject in the frame, or place it wherever I choose.
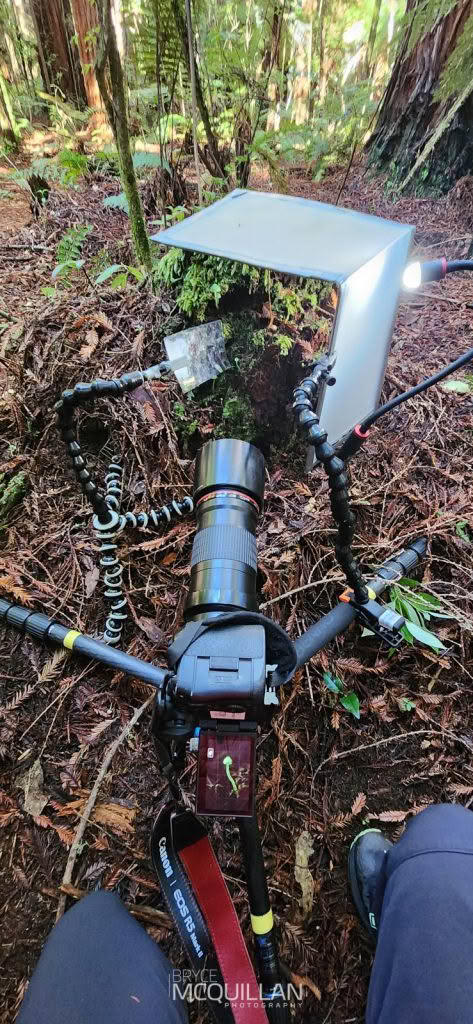
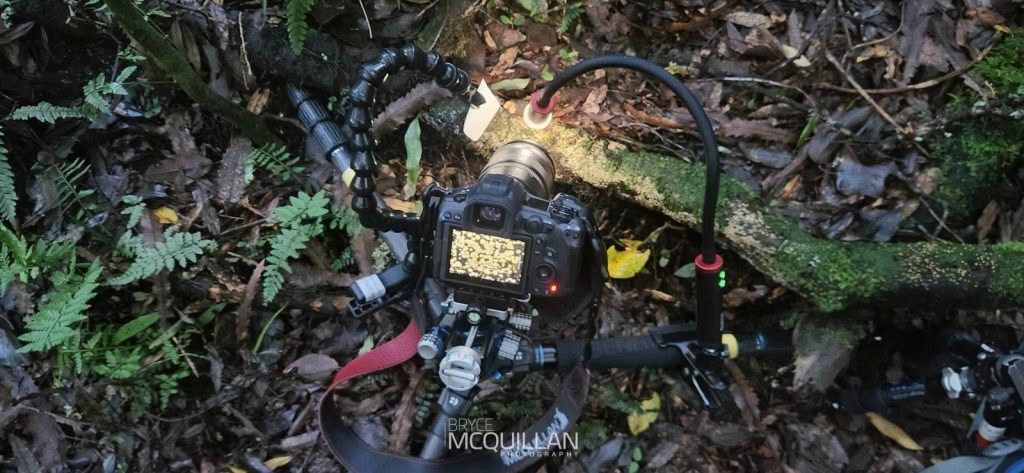
Below is my Benro Mach3 Carbon Fibre with the GD36PT attached, set at a side angle. On top is a Canon R5 with the Canon EF 180mm macro lens, lit by a SmallRig RM 03 Macro Photography LED Light and a Wimberley Plamp II holding a set of custom-made DIY bounce cards.
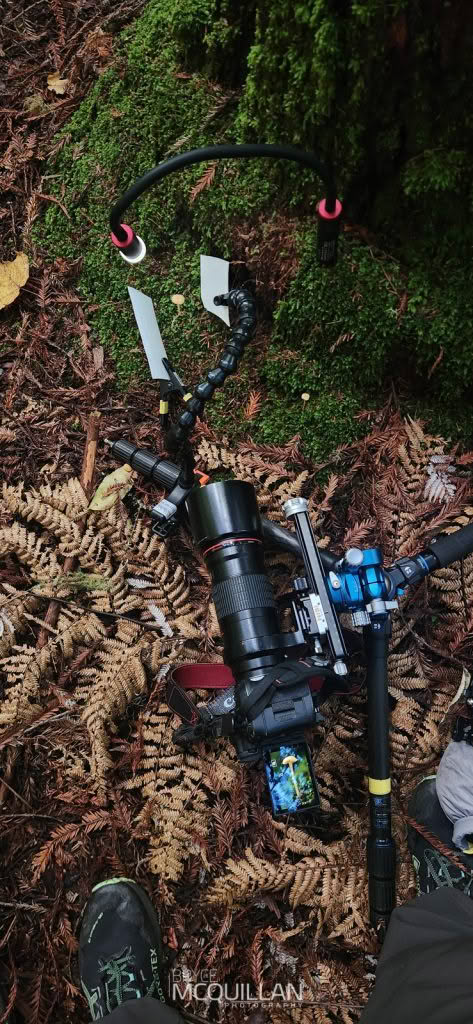
I also own a smaller Leofoto LS-223C Professional Carbon Fibre tripod, bought at a time when Benro did not offer a small tripod in this size, along with a couple of DIY bean bags. This new Benro GD36PT head has effectively replaced all of these for much of my photography. The bean bag and the Leofoto still have their place in my kit, but I am no longer forced to choose between the bean bag, the mini tripod, or the big tripod.
I can now simply take the larger tripod and have it cover everything. It also gives me far more flexibility in the field; not only can I photograph fungi, plants and other subjects low to the ground, I can just as easily lift up for the wider landscape and capture a scene from a higher viewpoint.

What has really changed things is how the setup works as a whole. With the GD36PT attached to my Benro Mach3, alongside the accessories mentioned above, the tripod has become far more than just a camera support. I often attach both the Plamp II and the SmallRig light with their clamps directly to the tripod, turning it into a fully supportive mobile studio.
I can light, diffuse and bounce light however I need to, and the Plamp gives me the freedom to hold a plant stem or leaf still, or pull it gently out of the frame. That flexibility and freedom lets me capture images far more easily than I could before.
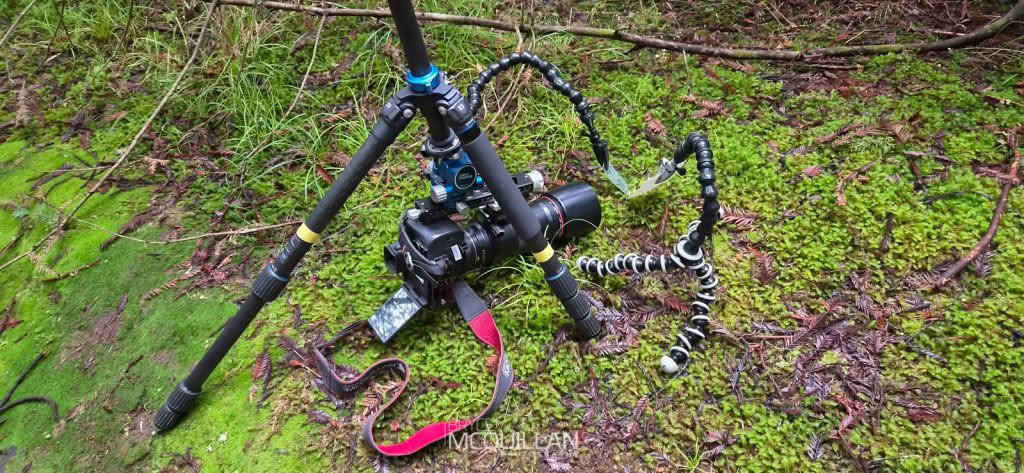
Compared to the GD3WH, the GD36PT is far more manageable upside down, flipped through the centre column, with the legs splayed out wide and low to drop the whole rig down close to the moss. From there the head angles the camera exactly where I need it, and I can set up my lighting however the subject calls for it, turning the tripod into a complete little field studio.
This is exactly the kind of low, awkward position that used to be a real struggle, to the point you would just walk away. Now it allows me to achieve lower and more useful shooting angles than I possibly could with a bean bag. This is because on the tripod head I can add a controlled vertical angle that simply is not possible to the same degree with a bean bag.

Perfect probably does not exist. This is the closest I have come.
There is always something we want to refine in our images, or some piece of gear we believe will finally make our system complete. But this kit is the closest I have come to chasing that elusive word.
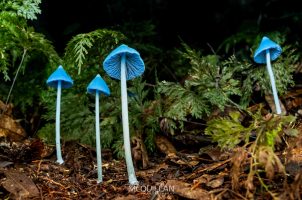
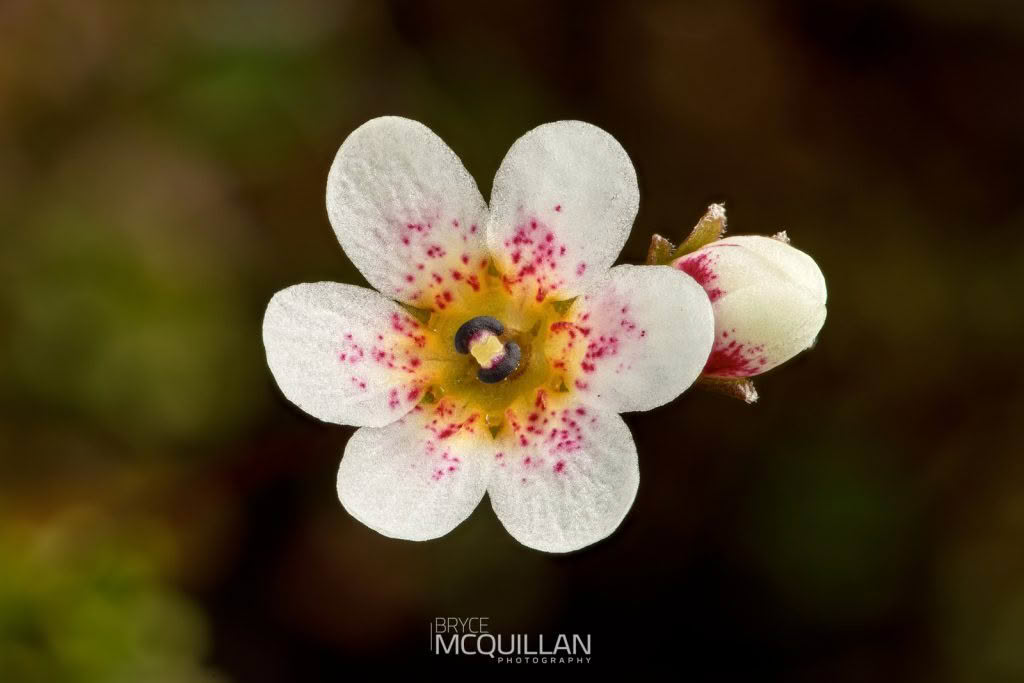
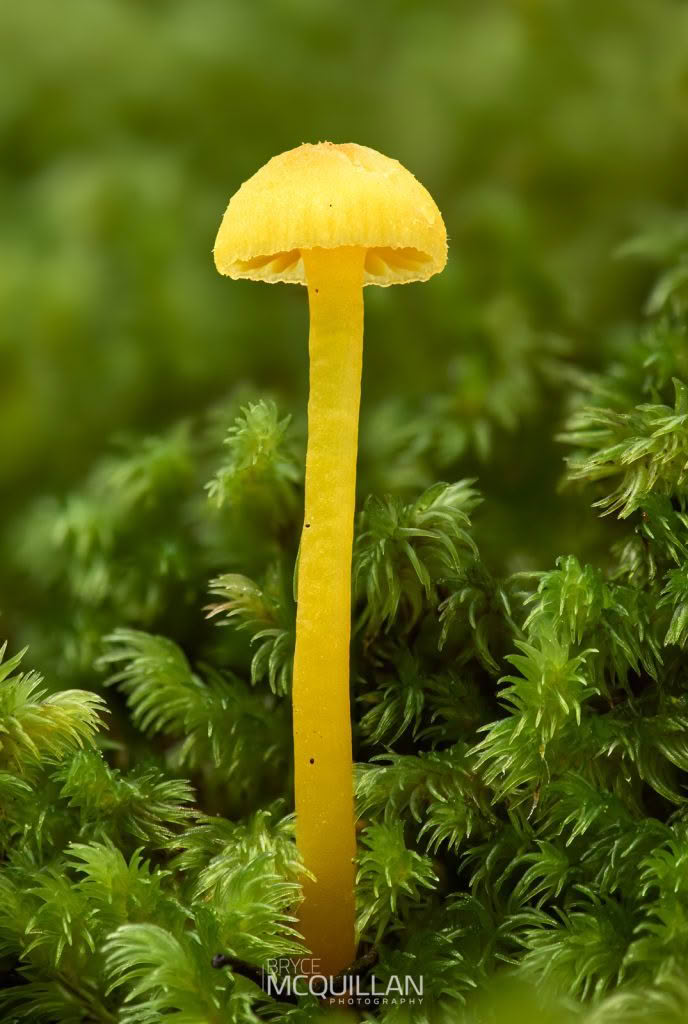
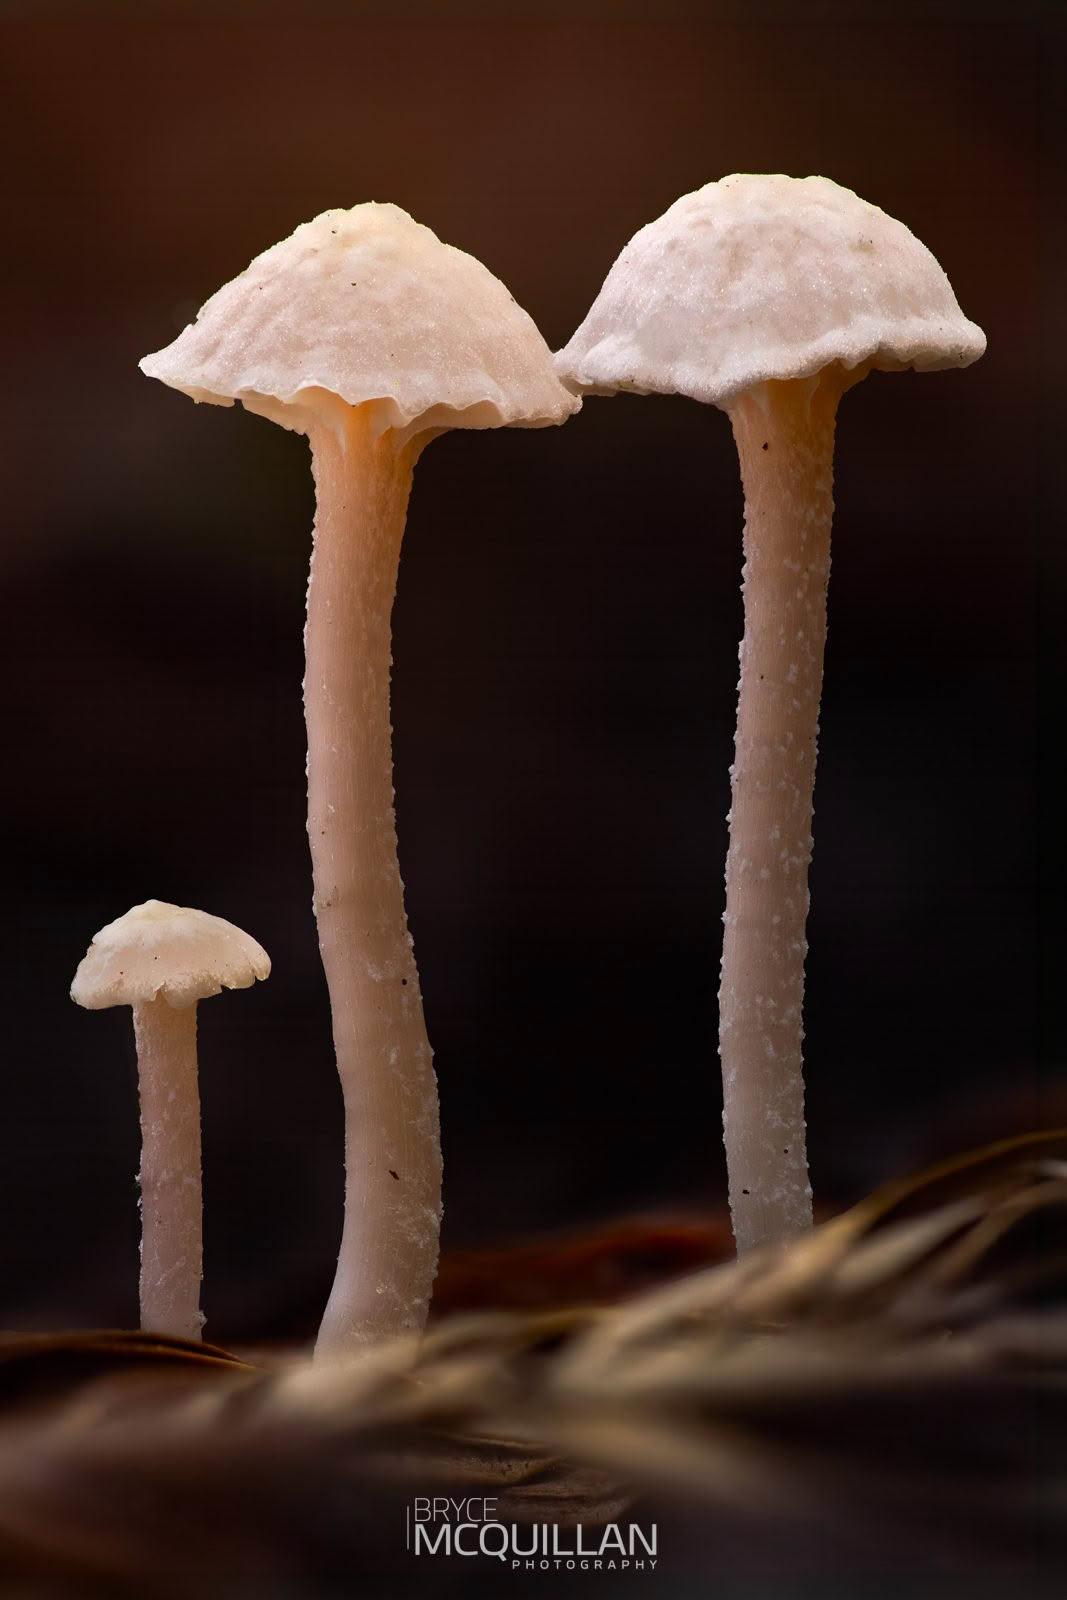
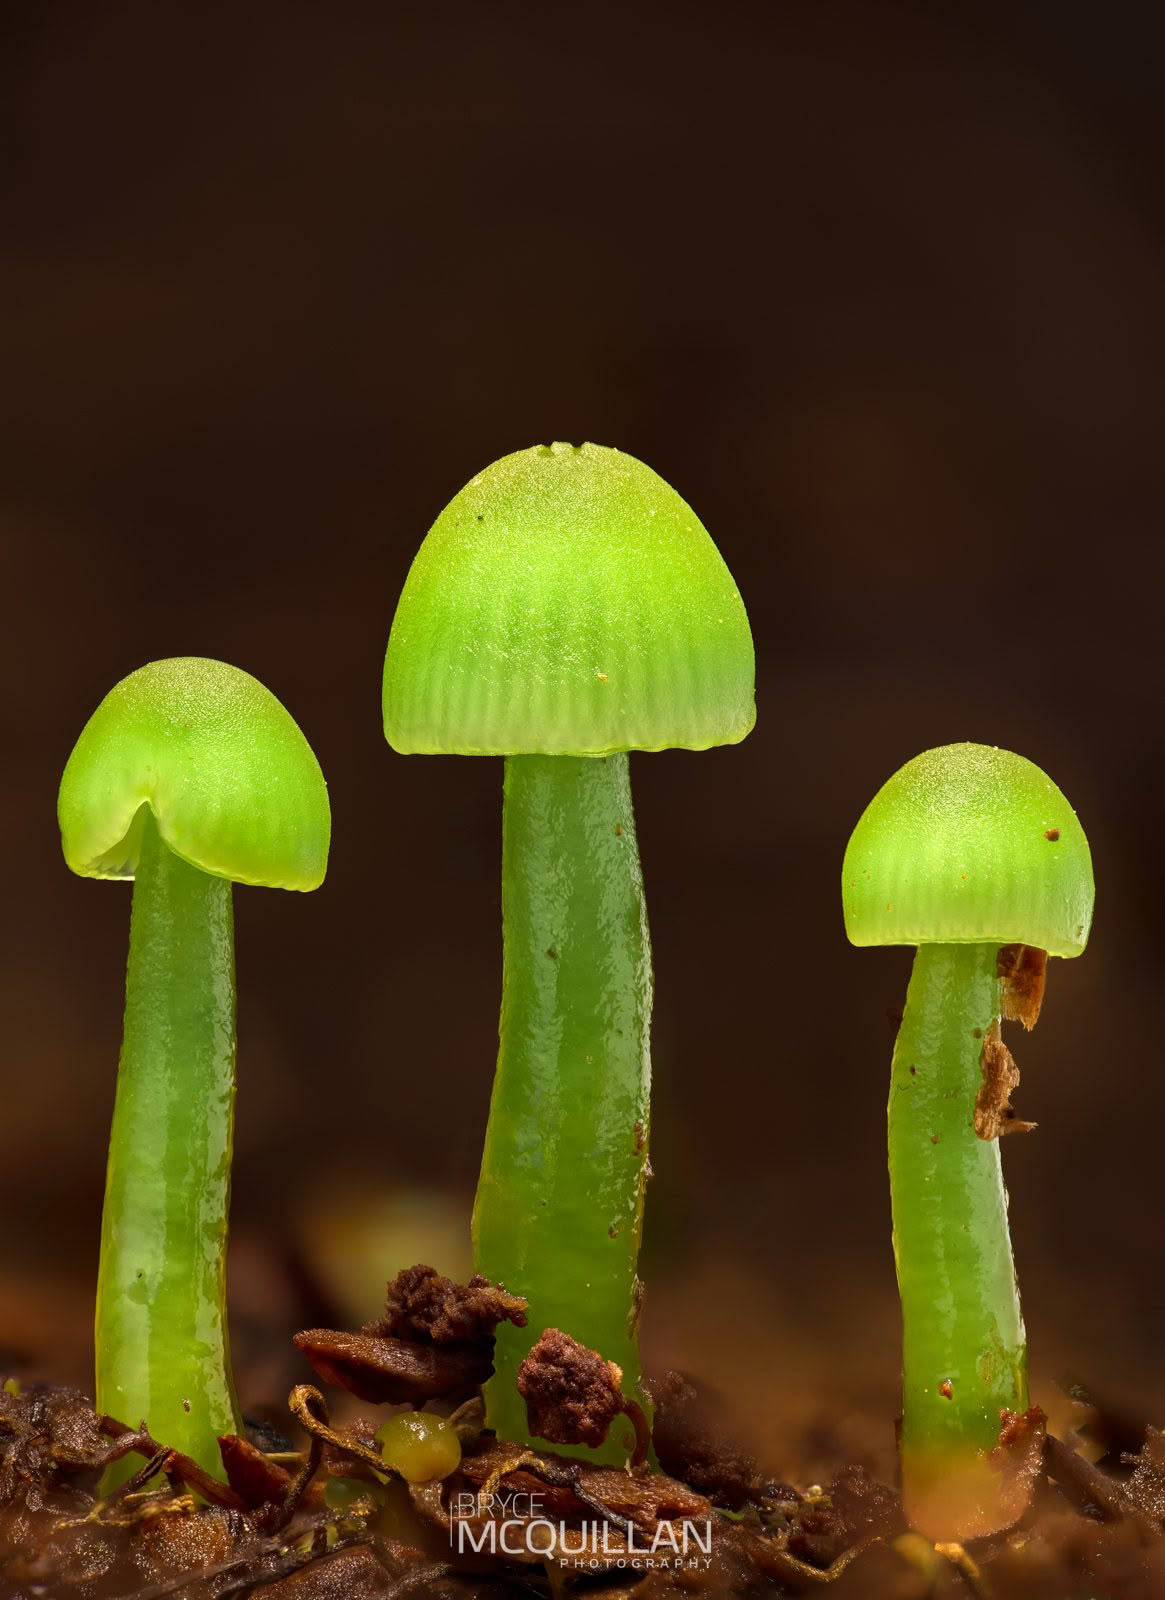
The GD36PT also makes mounting the camera upside down far easier than before. A few of my recent fungi images below were all captured with the GD36PT, whether mounted the right way up or flipped upside down for those low, straight-down angles.



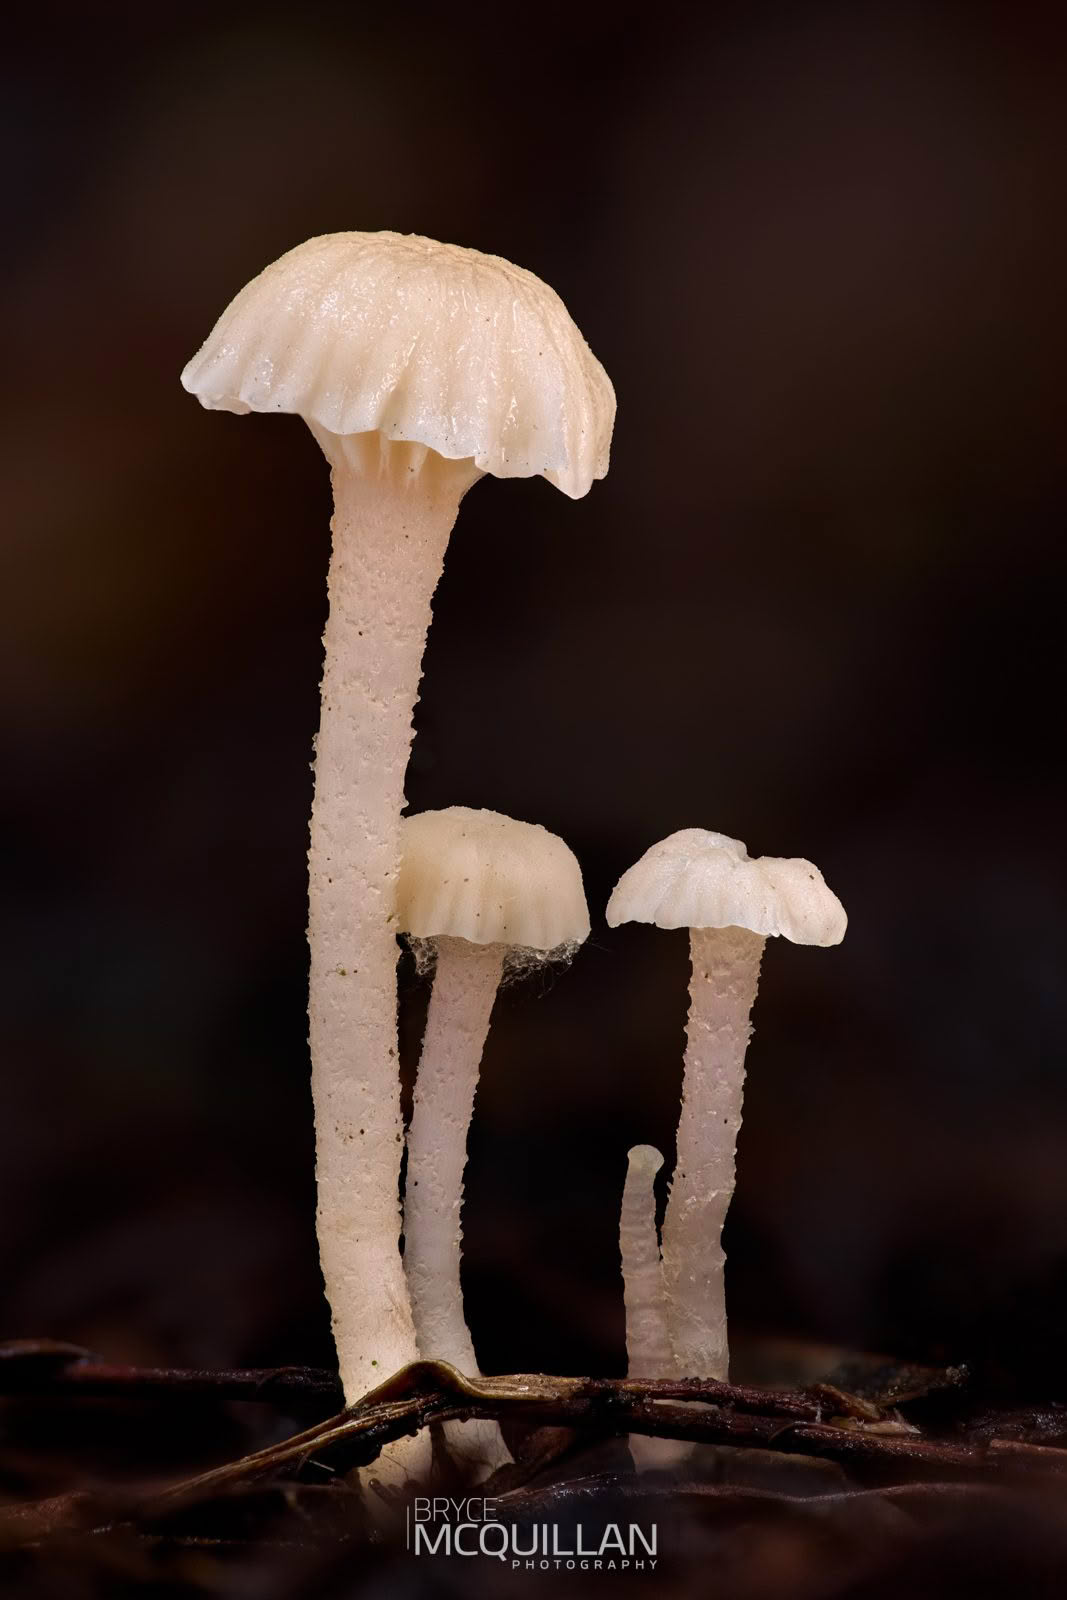
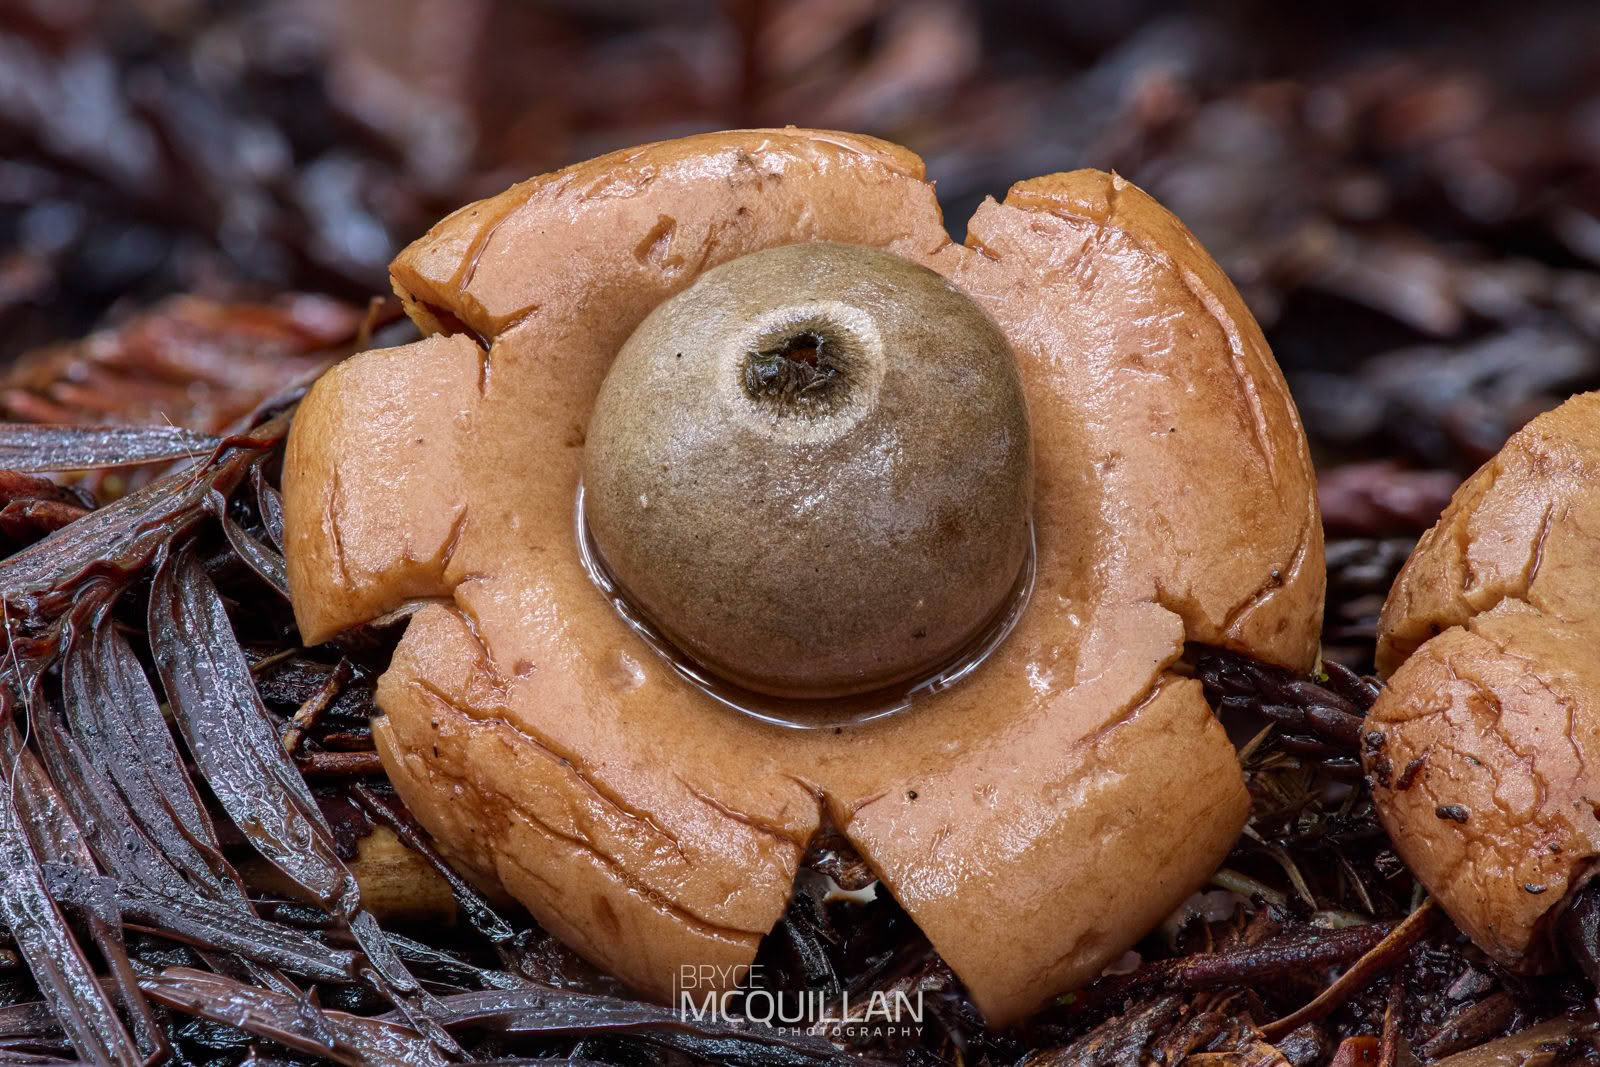
The GD36PT is the closest I have come to an all-round tripod head for my photography.
It is not a perfect replacement for the GD3WH. It gives up full three-axis geared control and some geared travel. But for the way I actually work in the field, that trade-off is worth it. It is smaller, faster to position, more comfortable to use and far more flexible at difficult angles while still giving me the fine control I bought a geared head for in the first place.
Equipment mentioned
Benro GD3WH 3-Way Geared Head · Benro GD36PT 3-Way Geared Head · Benro Mach3 9X CF Series 3 Tripod · SmallRig RM 03 Macro Photography LED Light · Wimberley Plamp II · Leofoto LS-223C Carbon Fibre Tripod · Canon EOS R5 · Canon EOS R5 Mark II · Canon EF 180mm f/3.5L Macro USM · NiSi NM-200S Macro Focusing Rail.