Achieving consistent lighting is one of the most challenging aspects of macro photography. We are often working with very small subjects that require narrow apertures such as f/11 or higher, or we may be focus-stacking to achieve sufficient depth of field. Both scenarios demand either a significant amount of light or an extremely stable light source.
At night, an external light source is essential. While both LED and flash systems can be used, I generally do not recommend LED for night macro work, the amount of light required, and the size of the light needed to achieve it, tend to become cumbersome. LEDs, however, can be excellent tools for daytime macro photography.
The core lighting principle in macro photography is straightforward: the larger the diffuser, and the closer it is to the subject, the softer and more pleasing the light will be.
The trade-off is that a large diffuser positioned close to your subject increases the risk of disturbance, particularly with easily spooked invertebrates. For this reason, it’s wise to experiment and refine your setup at home before heading into parks, reserves.
Flash Diffusers
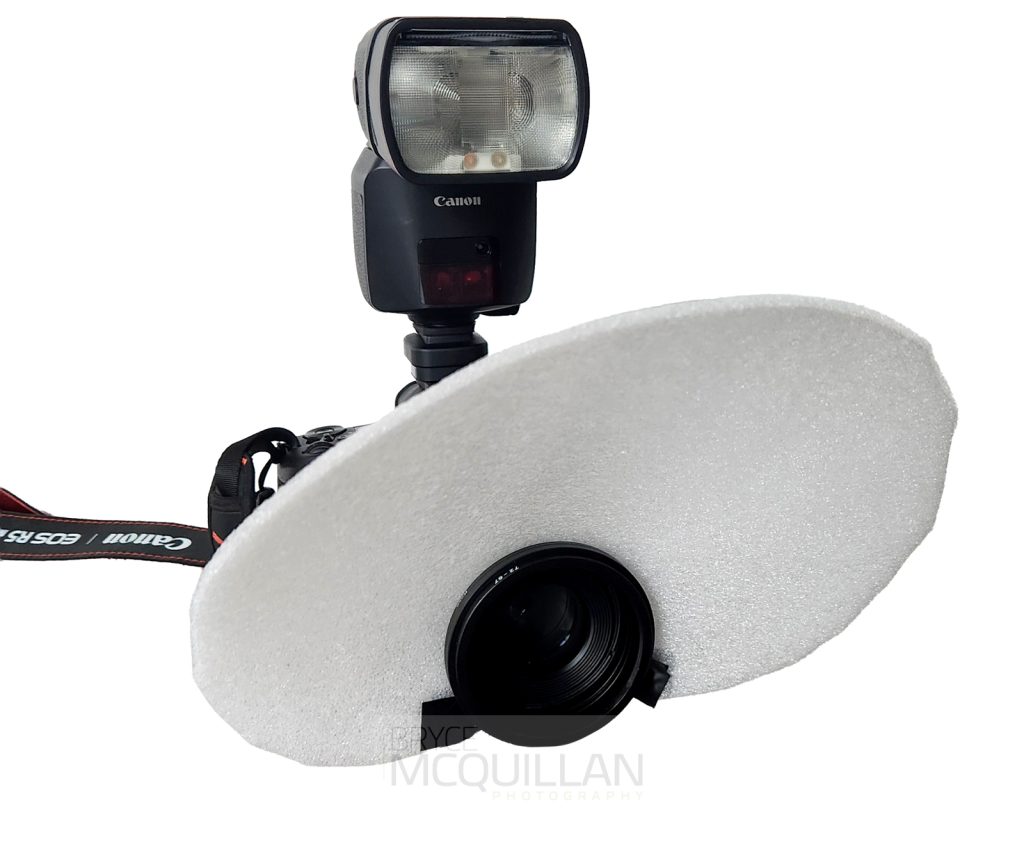
To begin, we’ll look at diffusers designed for flash. As noted above, a large diffuser placed close to your subject produces soft, even illumination. Many macro photographers use a simple diffuser mounted directly on the end of the lens (see image below). This style is generally less intrusive and produces attractive light, However, this setup can leave one side of the subject in shadow. It’s not a major issue, but it becomes more noticeable when photographing subjects on trees or large branches. In most cases, it can be corrected in post-processing by lifting the shadows. To minimise this effect in-camera, a small bounce card positioned beneath the lens is highly effective, more on this below.
Basic Concave Flash Diffuser (packing foam) on the end of the lens– Simple and Effective
A straightforward diffuser can be made using standard packing foam. Adding a layer of tracing paper helps increase thickness, improve structure, and deliver more controlled diffusion. It is advisable to avoid baking paper, as often it can have an oily coating can introduce unwanted colour casts.
I would avoid using marital/products such as milk bottles, ice cream containers/ice cream lids, paper, hand towels/issues, and the like, as these can often be more difficult to work with and cause colour cast.
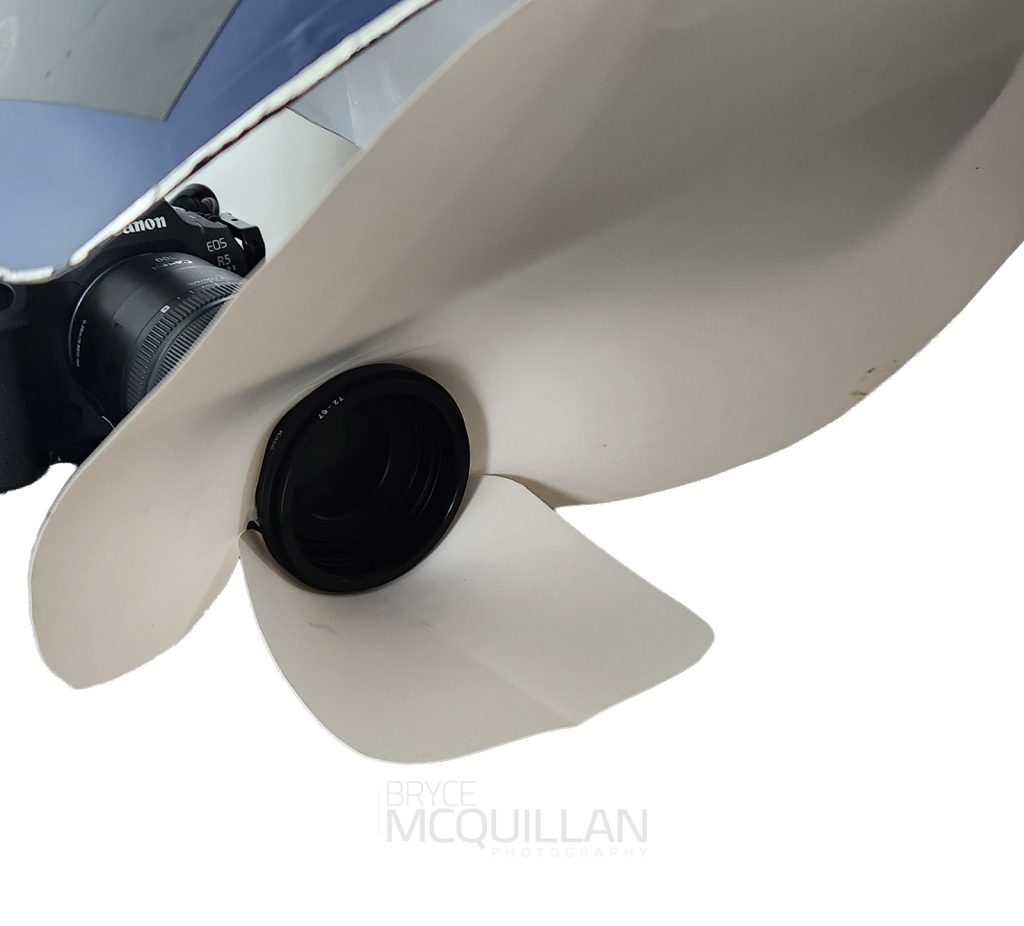
A gently curved diffuser that slips over the front of your lens works well. Securing it with a rubber band at the base provides stability and shape. To help keep the diffuser securely in place, consider using a step-up ring to stop it from slipping off the front of the lens. Step up ring one size up, is often all you need, a 72 mm step-up ring works well on a 67 mm macro lens.
Pros: Easy to source materials, simple to construct, lightweight, and flexible.
Cons: Can be fragile and break easily in the field, sometimes dropping martial into the environment. When using more powerful flash units, tracing paper or foam may need to be double-layered. Can cast shadows on one side of your subject.
Concave Flash Diffuser (Polypropylene) on the end of the lens
Polypropylene diffusers follow the same general concept as basic foam diffusers, but they offer several advantages. Polypropylene sheets provide more even light. Polypropylene can come in a range of thicknesses (commonly 0.2 mm or 0.3 mm, with some photographers opting for 0.5 mm), and are easy to shape. They are flexible, durable, and do not degrade over time the way packing foam or tracing paper can. However Polypropylene is much harder to source here in New Zealand.
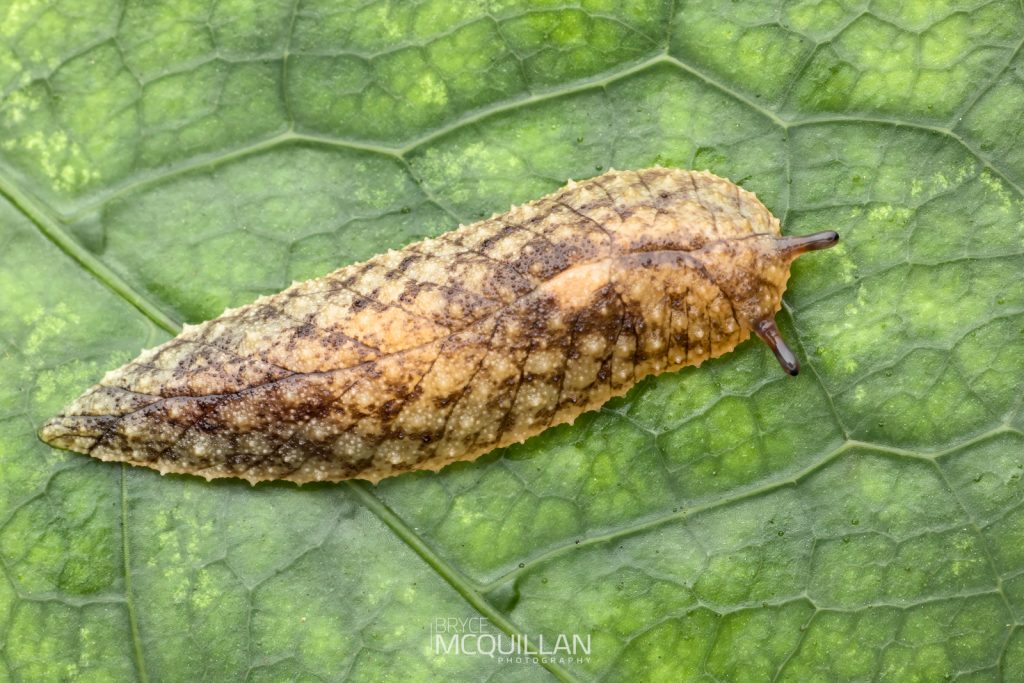
Another benefit is ease of maintenance. Polypropylene can be wiped clean or washed, making it suitable for use in all weather conditions. This is particularly valuable on damp nights when species such as para slugs (Schizoglossa novoseelandica) or velvet worms (Peripatus) are most active.
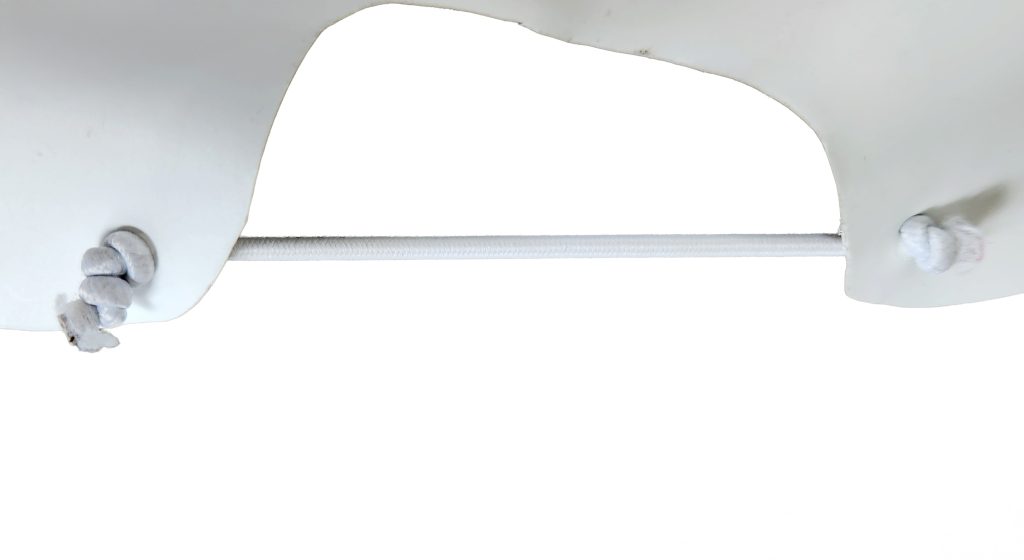
Polypropylene is heavier than packing foam or tracing paper, so a simple rubber band around the front of the diffuser is often not enough to hold its shape securely. I generally use a thicker elastic cord, similar to the cord used inside fibreglass tent poles, which provides far better stability. This type of elastic is commonly sold in supermarkets or craft stores such as Spotlight under names such as ‘hat elastic” it is best to choose colors such as white, grey or black, as these will not reflect color cast into your photos.
I usually make a small hole on each side of the diffuser near the base, thread the elastic through, and tie a double knot at both ends to secure it. In many cases, adding a small strip of electrical tape around the section of the diffuser that sits on the lens helps prevent movement or rotation. It also reinforces the area around the holes, reducing the chance of the material tearing where the elastic is attached.
Diffuser Hood and Light Control
When working with polypropylene, it is often advisable to build a flash diffuser hood. The hood channels the light forward and reduces any light reflecting back toward the photographer, as polypropylene can be quite reflective. I also use this material for bounce cards in forest environments for the same reason.
I construct the hood using the same thickness of polypropylene as the front diffusion panel but add a layer of blackout material, or thick Duraseal across the top. In some cases, I also line the inside with a white reflective adhesive vinyl, such as the options available from Spotlight. This combination prevents light from escaping through the top of the hood and ensures all illumination is directed forward through the front panel.
Sizing and Practical Considerations
The size and shape of the hood, along with the width and length of the front diffusion panel, have a direct impact on the softness of the light. Larger panels deliver softer illumination but can become heavier and more cumbersome in the field.
It’s also important to ensure the hood is appropriately sized for the front panel. If the hood is narrower than the diffusion panel, the effective light source becomes the width of the hood rather than the panel itself. In practice, this means that a larger front panel must be paired with a proportionally larger hood to achieve the intended lighting effect.
- For small invertebrates or flowers, a front panel around 20 cm wide is generally more than sufficient.
- For a broader range of subjects, including larger species such as frogs, Huhu beetles, a 20 cm panel is usually too small. In these cases, a 35 cm panel or larger may be required, and the hood must be built to accommodate this size.
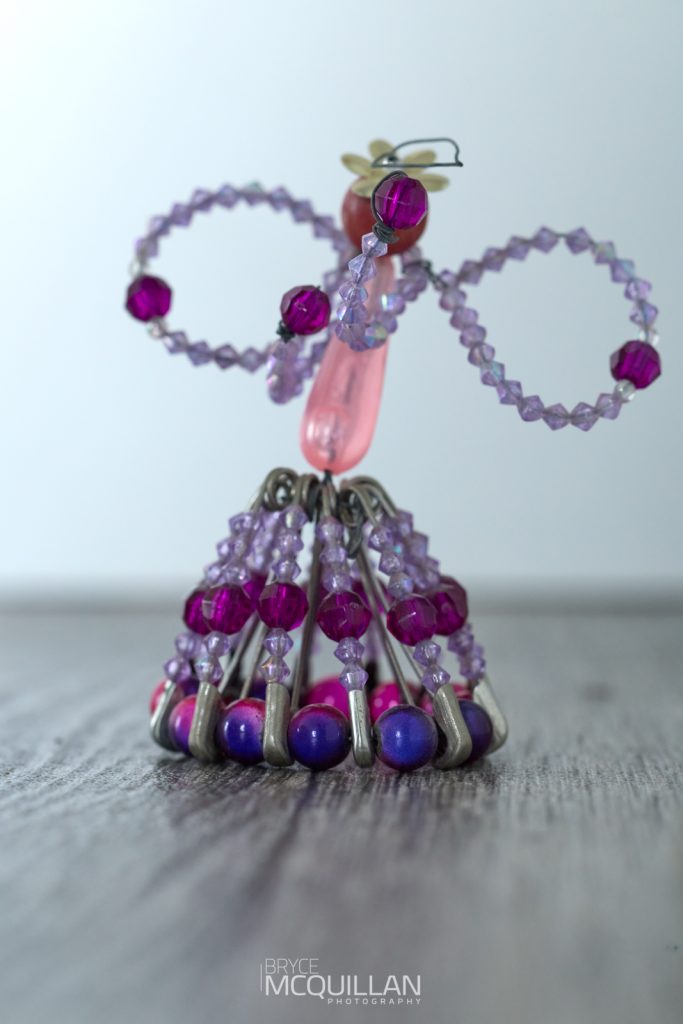
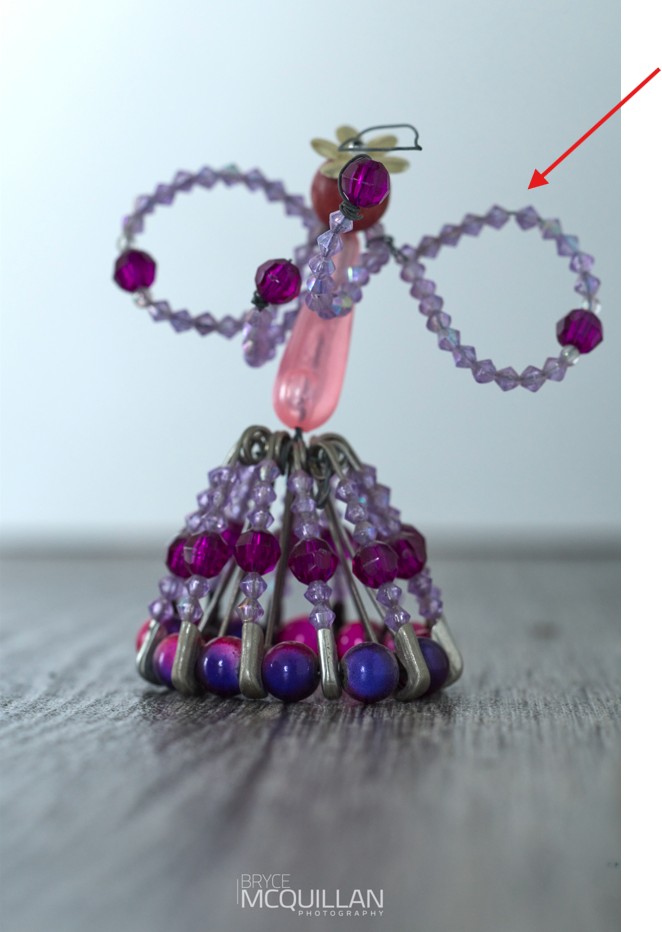
On the back of my diffuser hood, I use a simple DIY system with adjustable buttons that allows me to vary the width of the hood depending on which front panel I attach. Even though the spacing between the buttons appears small, it has a noticeable impact on the overall shape of the hood. It works much like adjusting a cone or funnel, where small changes at the narrow end create larger adjustments at the wider end and influence how the light spreads.
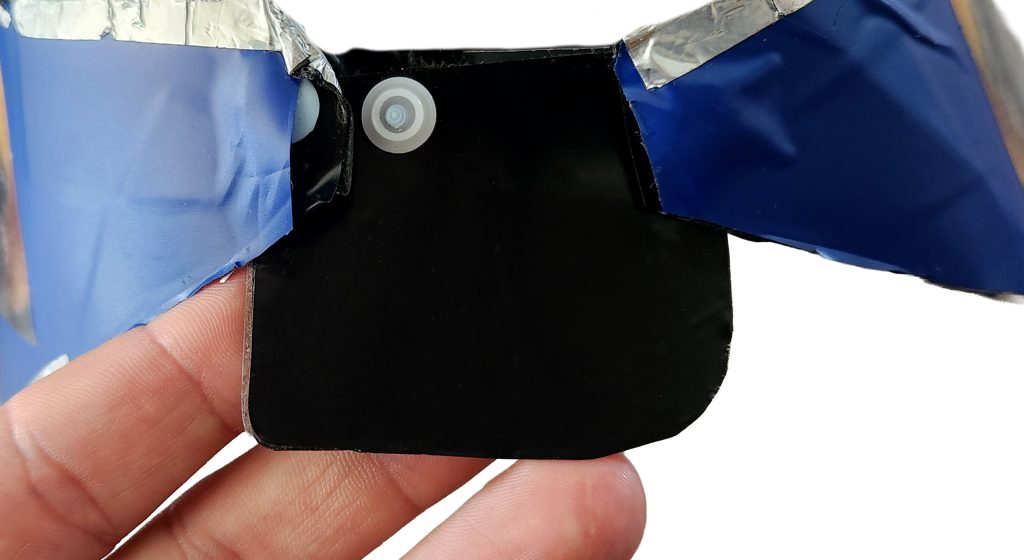
On the top of my diffuser hood, I have a small opening with a hinged flap where I mount a compact but very bright Olight torch. This provides a reliable focusing light when needed. The torch is held securely in place using small yet strong magnets and sits neatly on top of the hood. When I require illumination, I simply reach inside the hood to switch the torch on or off.
My favourite design diffuser.
Above, we looked at the basic diffuser that fits directly onto the end of the lens and discussed its strengths and limitations. While I still use that design often, particularly for subjects like orb-web spiders in their webs at night, I generally prefer a curved diffuser for most situations.
A curved diffuser offers far greater control over the quality and direction of light. Because it extends further forward and sits closer to the subject, the light wraps more effectively around the subject. This creates a much more even distribution of illumination across the image and significantly reduces shadowing on one side. When paired with a small bounce card underneath, the result is a balanced and natural-looking image.
This design provides the flexibility to adjust the distance between the diffuser and the subject, allowing fine control over light intensity. Small changes to this distance can have a noticeable effect on the softness of the light and the balance between shadows and highlights.This effect is amplified because our subjects are usually very small relative to the size of the diffuser. Even shifting the diffuser by only a few centimetres can dramatically change how the light behaves, as many macro subjects are themselves only a few centimetres in size. In practical terms, this is comparable to moving a large 4-metre softbox two to three metres closer or further away from a portrait subject during a studio shoot, a small adjustment in distance, but a significant change in light quality.
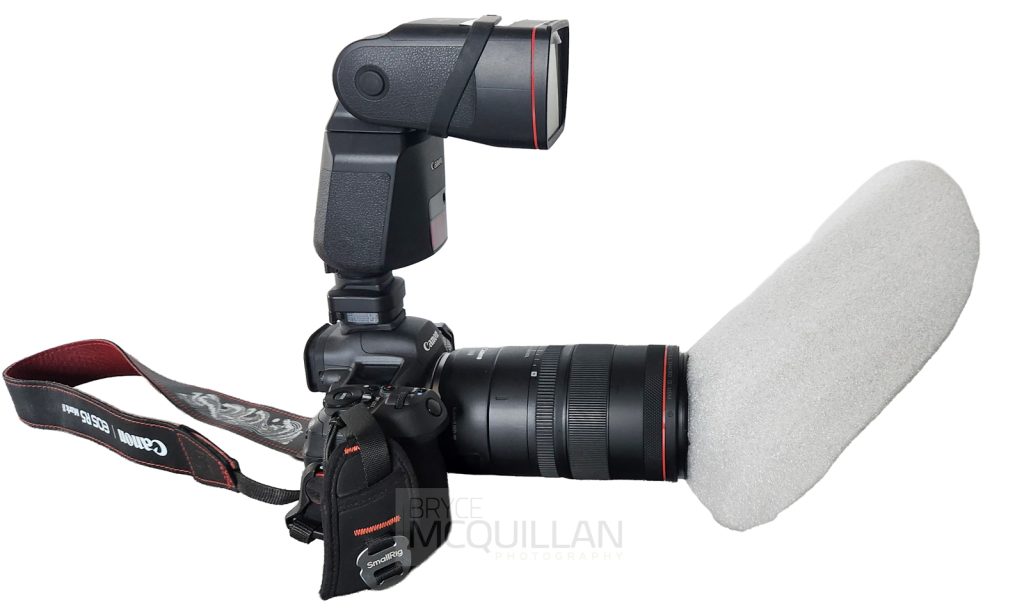
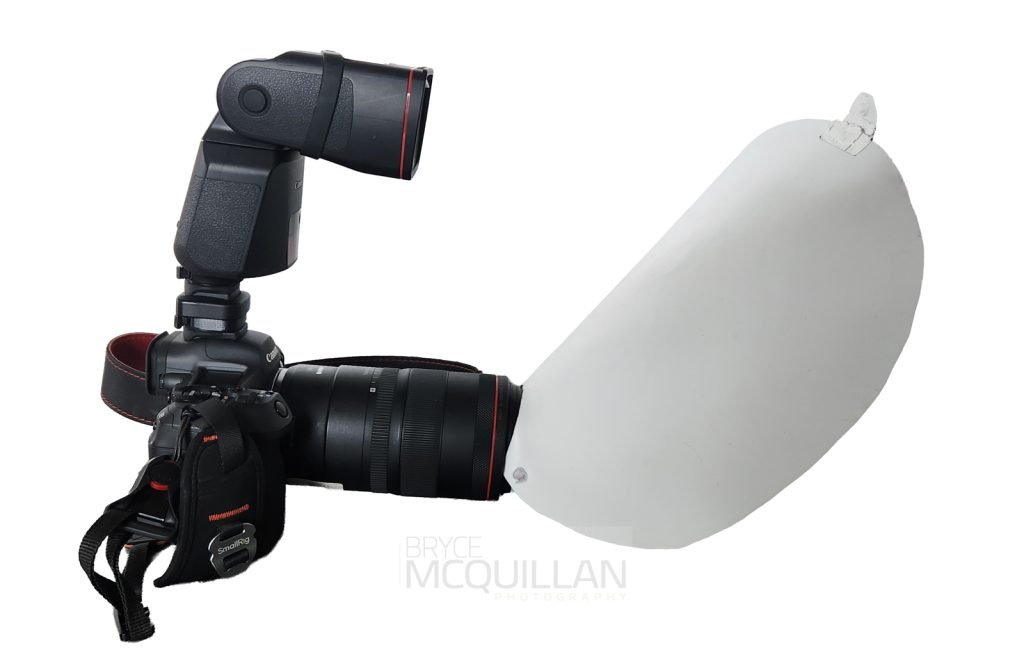
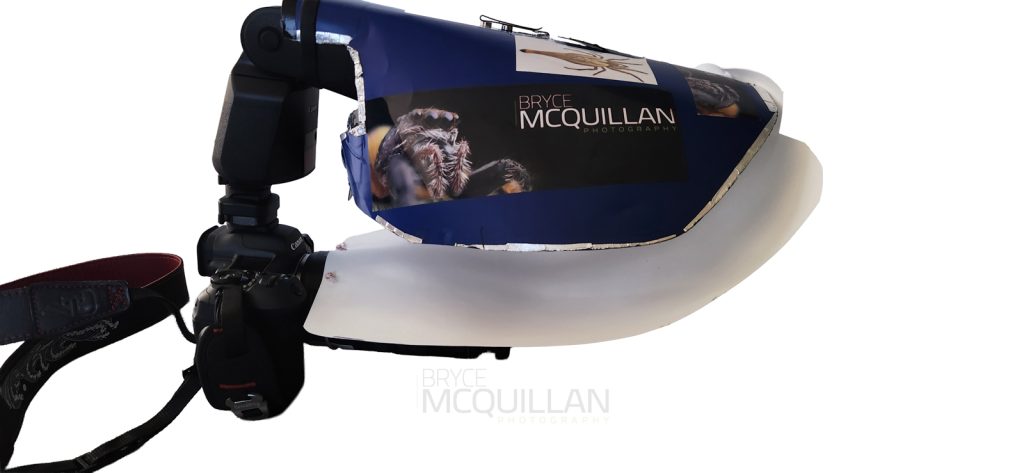
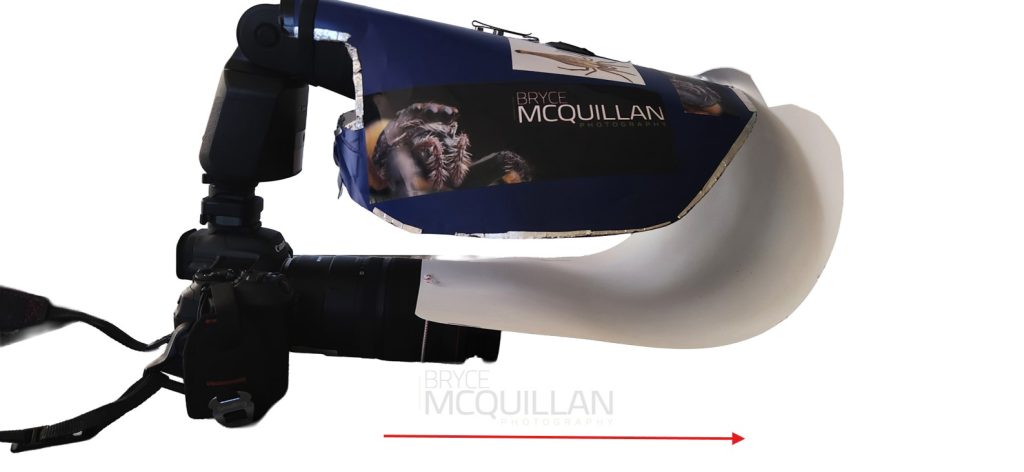
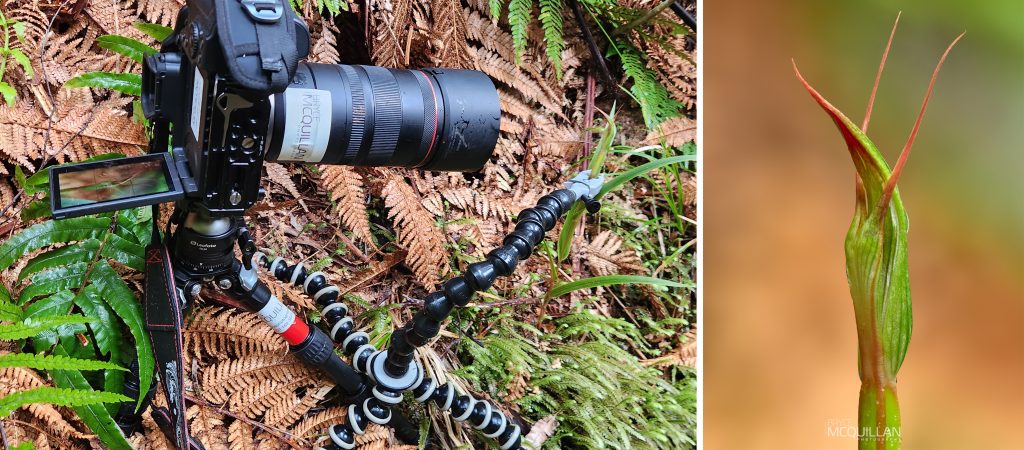
Below are two images demonstrating my current setup (Nov 2025). In the image on the left (←), the diffuser is pulled back toward the camera. This generally increases contrast, with more pronounced shadows and highlights, but it also allows me to work in tighter spaces without disturbing the subject as much. This is a common trade-off in macro photography, capture the record shot with less-than-ideal light, or move on and look for a subject where better lighting is possible.
In the image on the right (→), the diffuser is pushed forward toward the end of the lens, making it larger and positioning it much closer to the subject. This produces softer, more enveloping light and works particularly well for subjects on the ground, tree trunks, or similar surfaces where the diffuser can be brought in close without risk of disturbance to the subject, often offering softer shadows and hightlights.
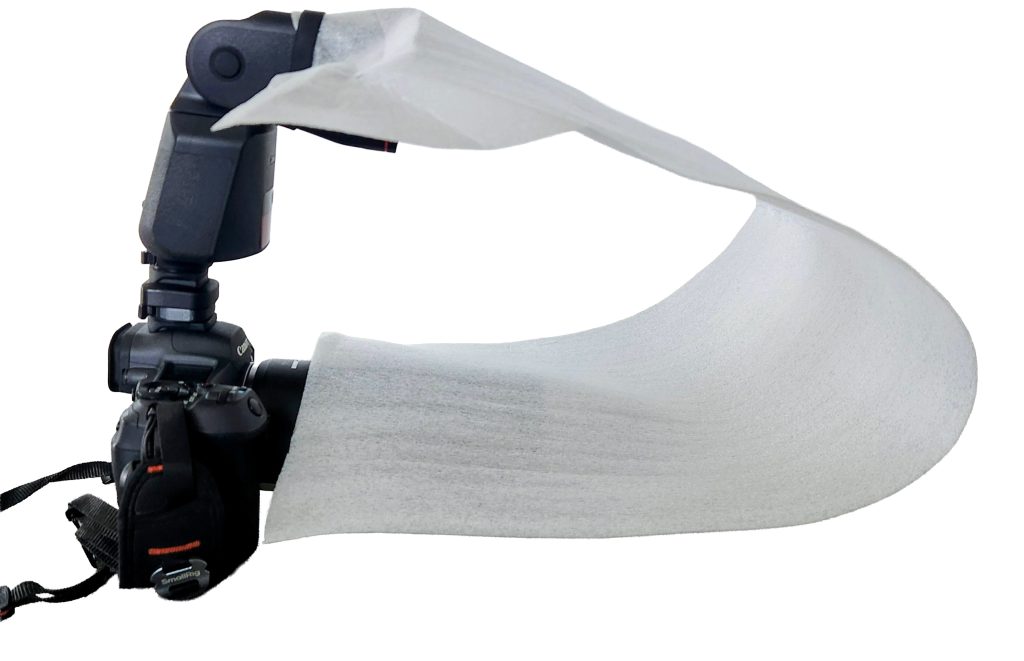
Although this style can be more cumbersome to use in the field, it is still one of the simplest and most accessible designs to build. The example below, made from basic packing foam, demonstrates this. A single sheet of packing foam cut to size and curved over the flash and lens can work reasonably well. However, because the material is translucent, the light tends to spill in all directions, which can reduce control and consistency. I would recomend building a more suitable diffuser hood for consistent and controlled lighting. However, if you are in a hurry, the simple packing-foam setup will still perform adequately. Just keep in mind that you will need to reduce your flash output significantly, typically to around –2 or –3 in E-TTL, or approximately 1/64 to 1/128 in manual mode—depending on your other camera settings such as ISO and aperture.
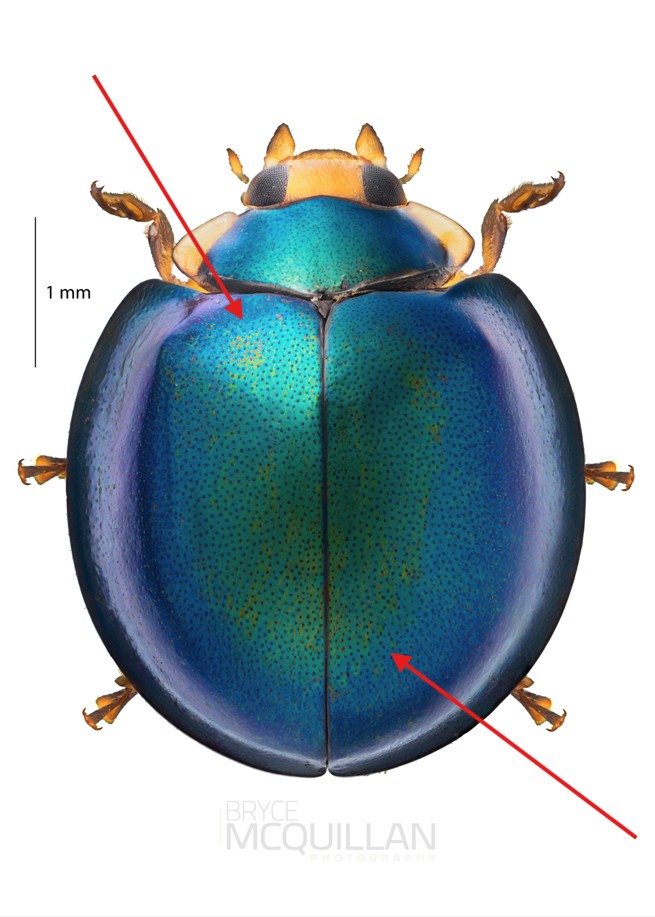
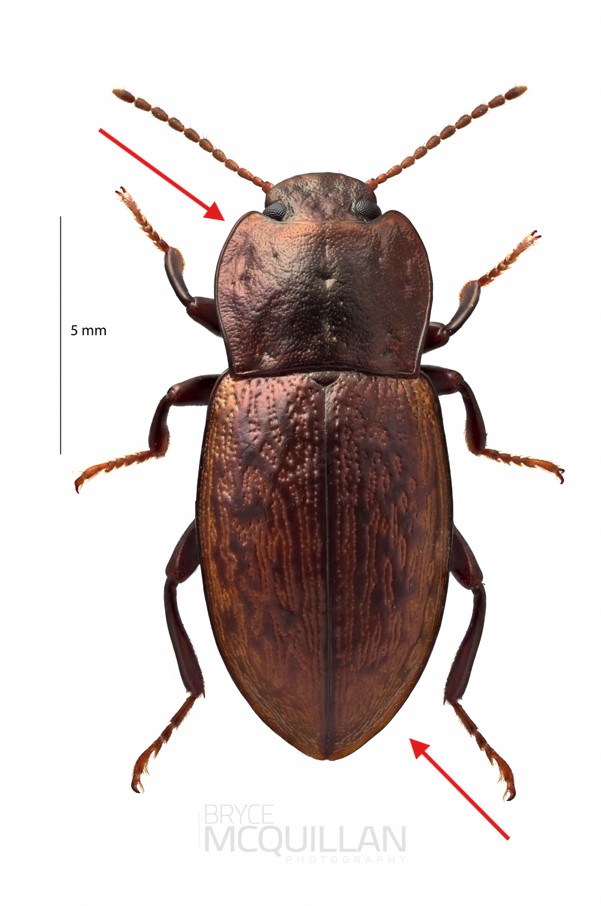
It is also important to avoid placing diffusion material directly against the flash head. While this may help scatter the light sideways or upward, it does not soften the light. Diffused light and soft light are not the same thing. Although they often occur together, understanding the difference is crucial. You can have hard diffused light and soft diffused light within the same scene, depending on the size and placement of your light sources.
The two examples below illustrate this difference on a beetle photographed against a white background. (top arrow), the light is hard diffused, while in the (bottom arrow), the light is soft diffused.
Using Diffusers during the day, to shade or create even lighting on our subjects in the field, this can often be ideal for larger subjects such as plants and fungi.
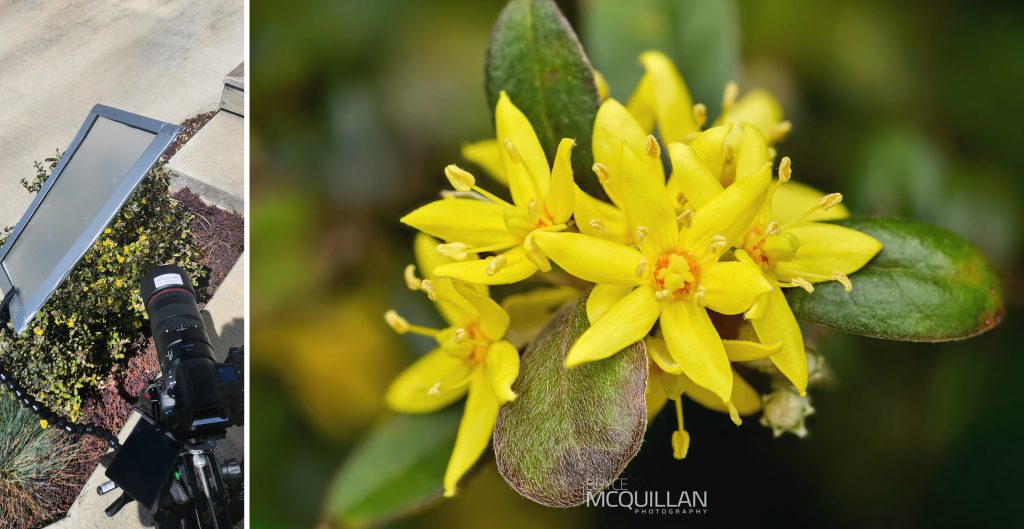
Similar to my flash diffusers, I also create my own diffuser panels, often using the same material but opting for opaque sheets, and in some cases a thicker grade—up to 0.8 mm. I also use 0.8 mm white polypropylene for field bounce cards, as the added thickness allows them to stand upright more easily, even at larger sizes.
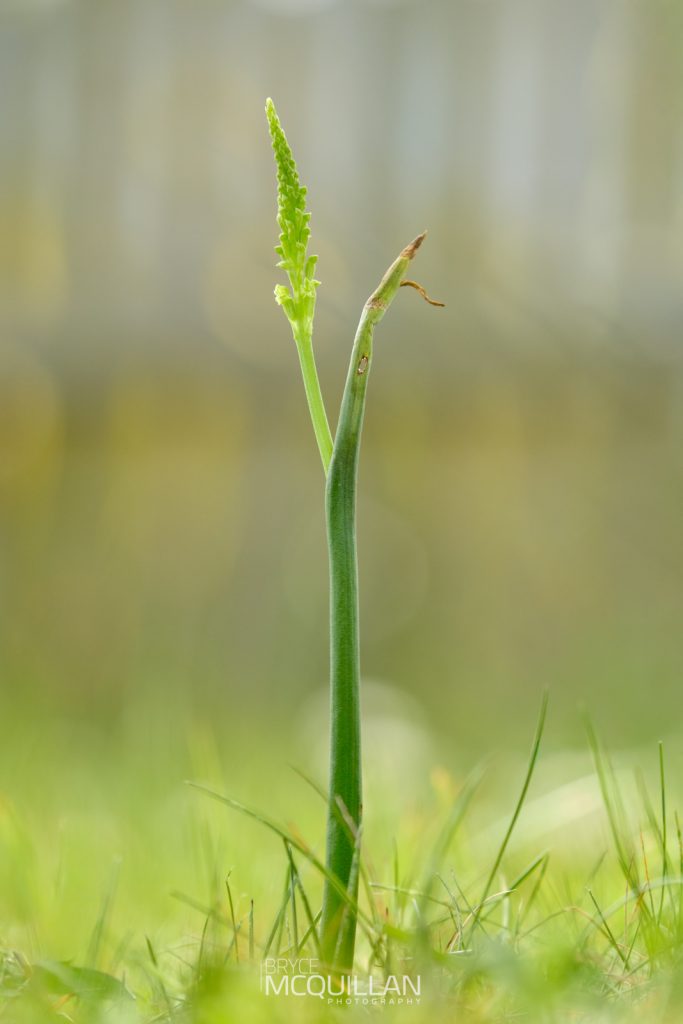
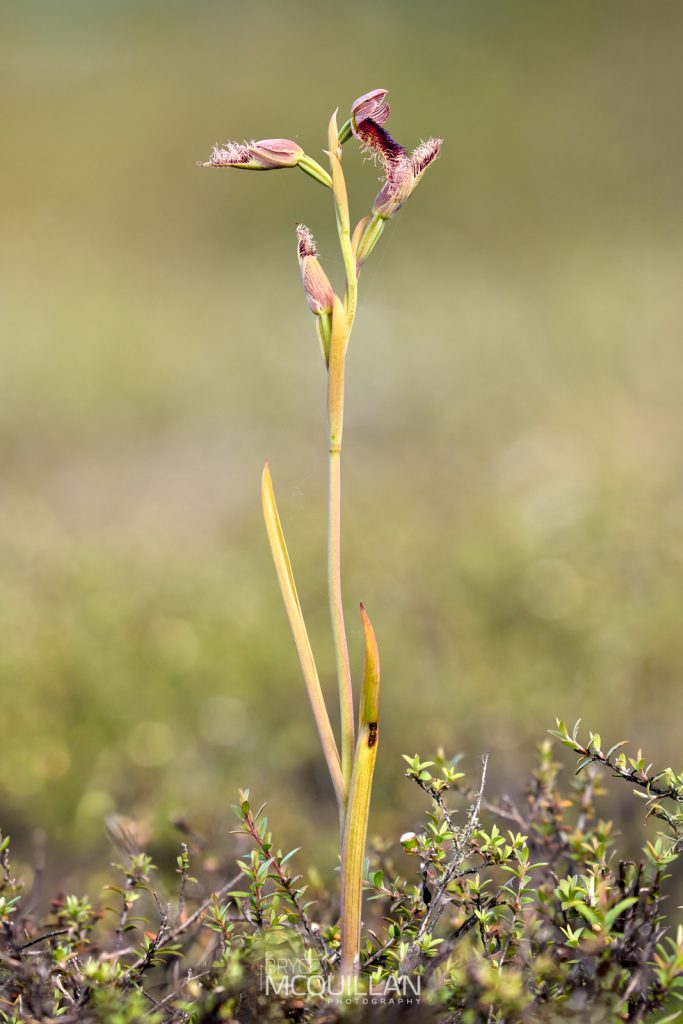
Below are two examples. The top image shows Microtis unifolia growing in my backyard, and the bottom image features the Red Beard Orchid (Calochilus robertsonii). The tent-shaped diffuser panel allows ample light to pass through while also shielding the plant from wind, reducing movement and making it easier to capture a sharp, well-lit image.
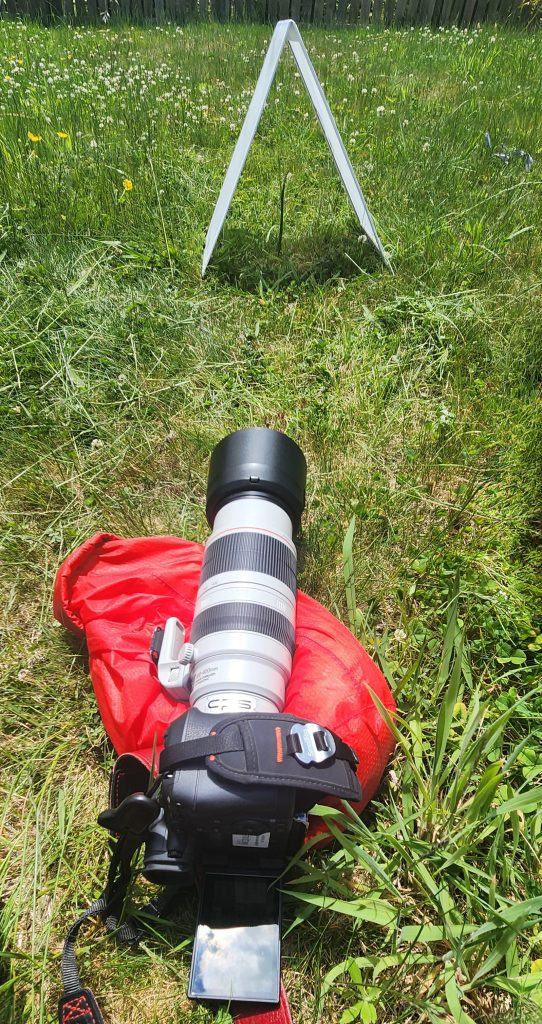

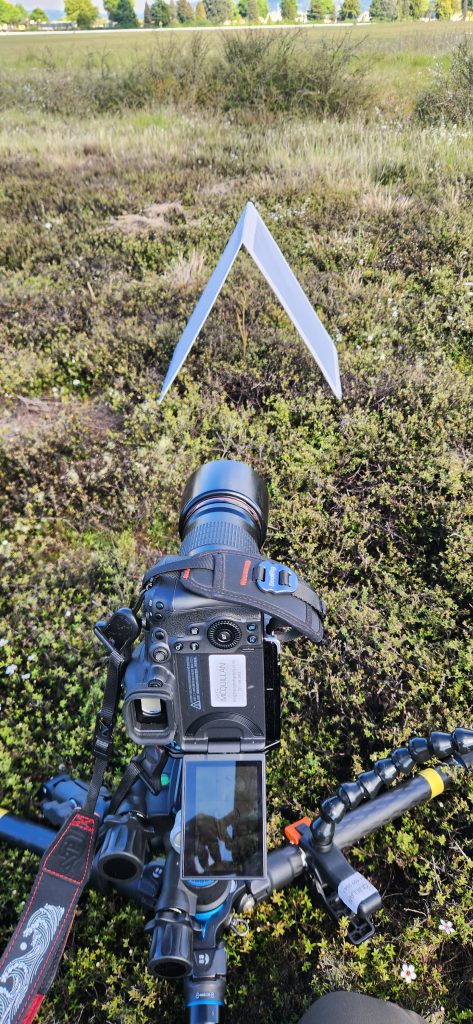
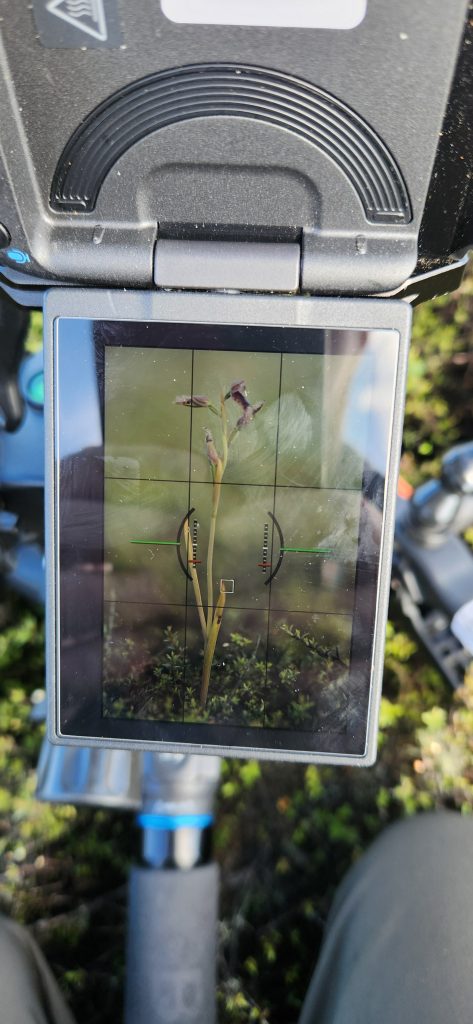
While the tent-shaped diffuser works well on flat ground surfaces, it becomes less practical for taller plants—typically anything over about 40 cm or for species growing on banks and uneven terrain. In these situations, using single diffuser panels mounted to a tripod with a Plamp, or a custom-built clamping system, is far more effective and offers much greater flexibility in positioning the light.
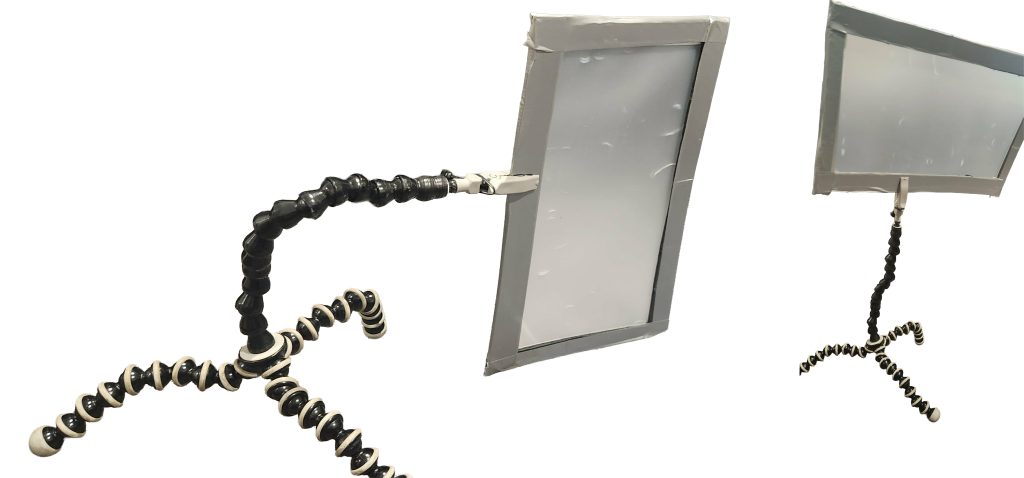
Having the Plamp II mounted on my tripod is extremely useful, but there are times when I need to work further away from the subject or cannot position a full-size tripod in the right location. In these situations, having an additional clamp system becomes invaluable.
I purchased the Wimberley Plamp II Thumb Screw Clip and the Wimberley Plamp II Extension, then repurposed an old Gorillapod to create a flexible DIY clamp. This setup gives me a fully independent, highly adjustable support that I can use separately from my tripod and Plamp II.
Wimberley Plamps are excellent because their clamps contain soft foam padding, allowing you to gently secure plants and flowers without causing damage while still providing enough stability to capture a sharp image. They are also strong enough to support my DIY diffuser panels with ease, giving me considerable flexibility and freedom in the field. I can even use the Plamp to position bounce cards when required.
I mentioned earlier above about sliver reflectors and bounce cards, sliver is often far more reflective than white, however in my personal exsperance, i find sliver quite challaning to work with as it often causes specalur highlights, rathan then even fill light. This is why i soly use white cards or polypropylene for fill/bounce cards, while it doesnt do as nice of a job, it certainly does help.
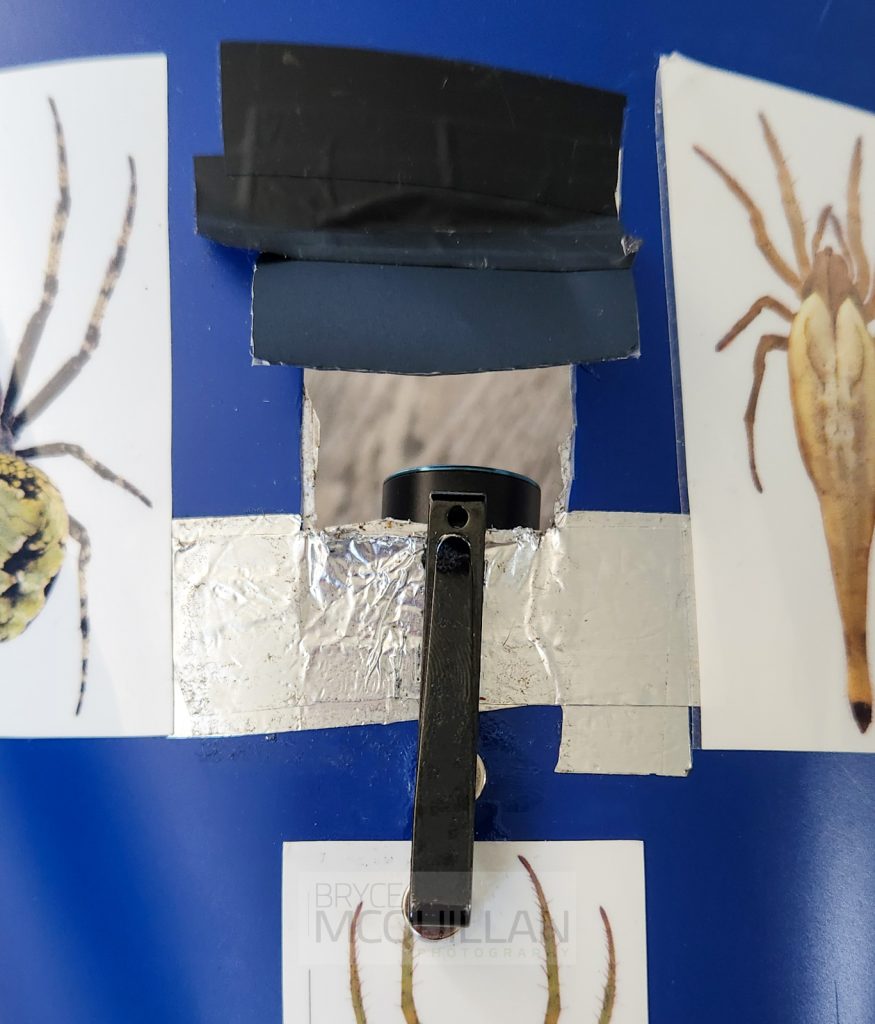
When viewed side by side, the left image (←) uses no bounce card, the centre image uses a white bounce card on the left, and the right image (→) uses a silver reflector on the left.

← Left image: no bounce card. → Right image: White bounce card from the right-hand side.

← Left image: no bounce card. → Right image: silver reflector from the right-hand side. The silver reflector introduces noticeably stronger specular highlights.

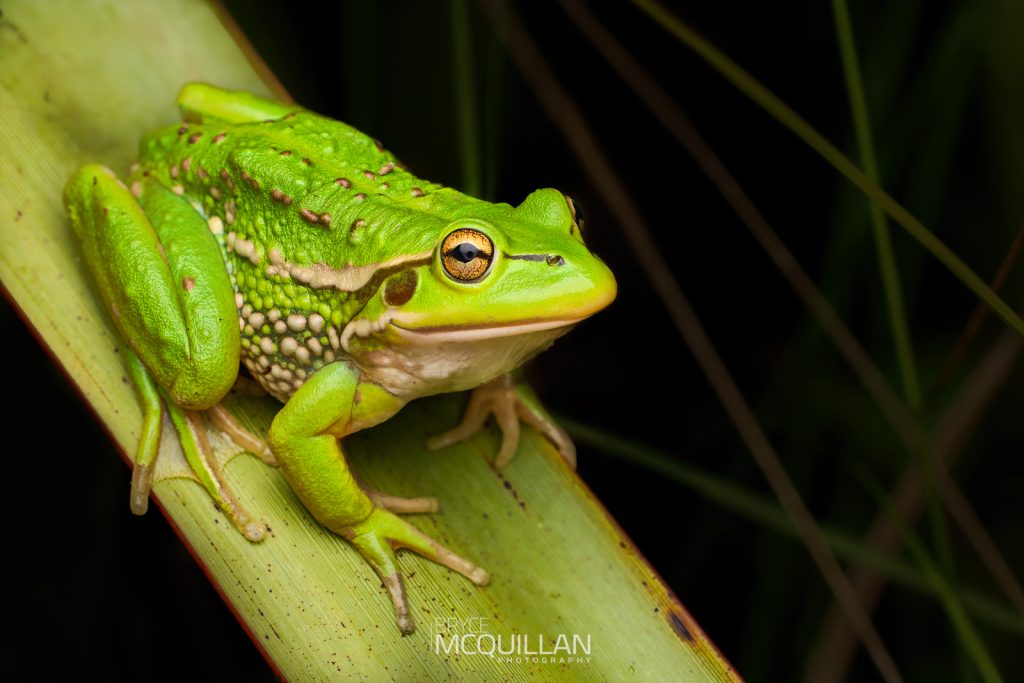
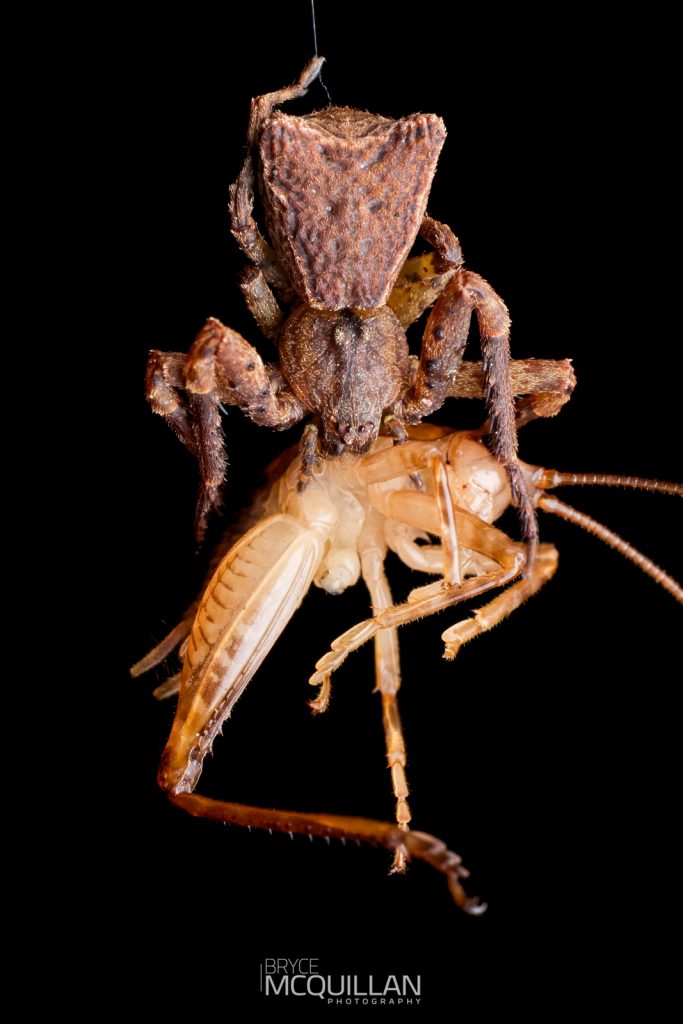
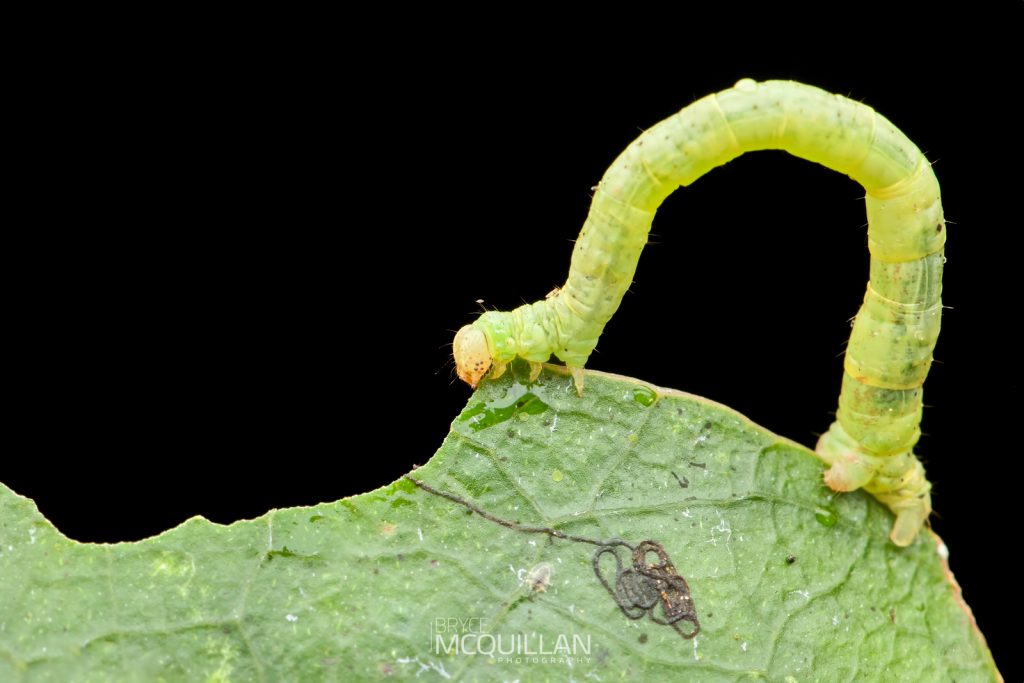
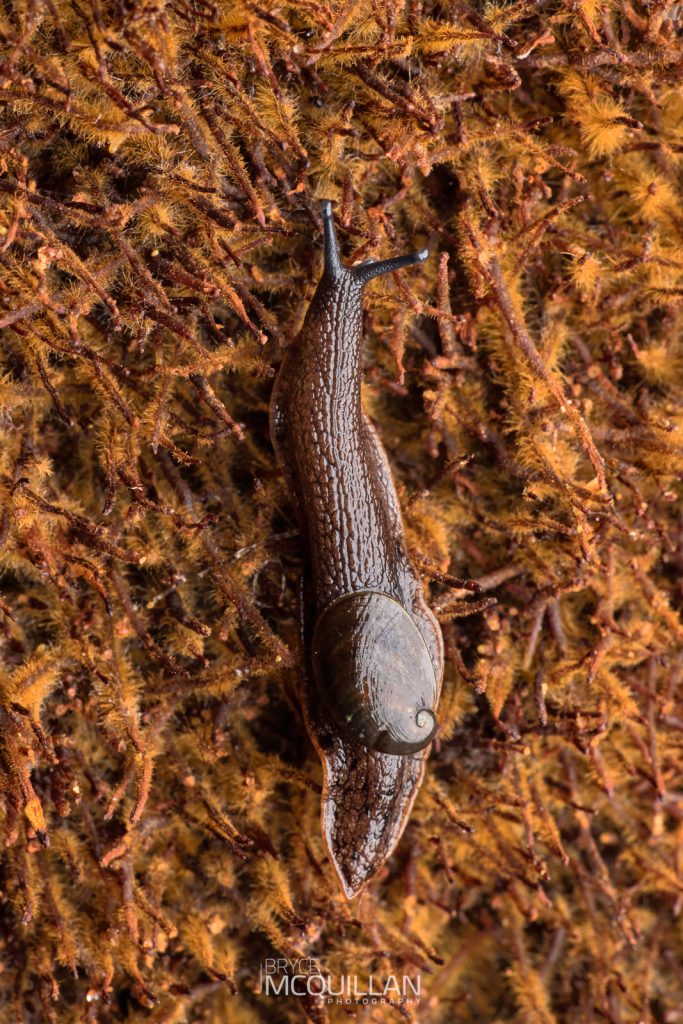
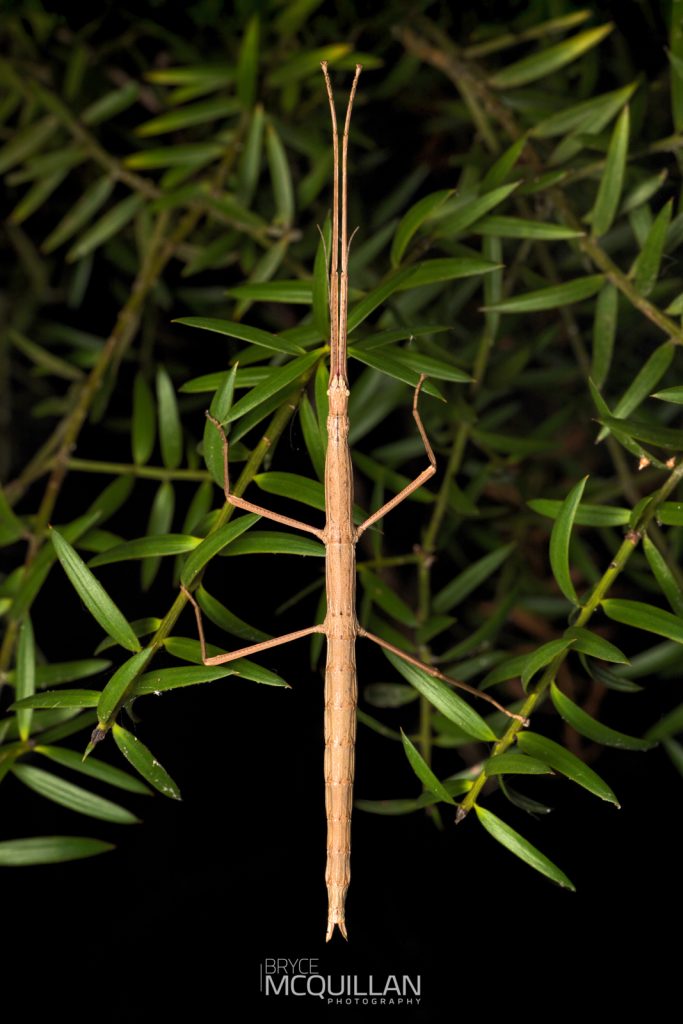
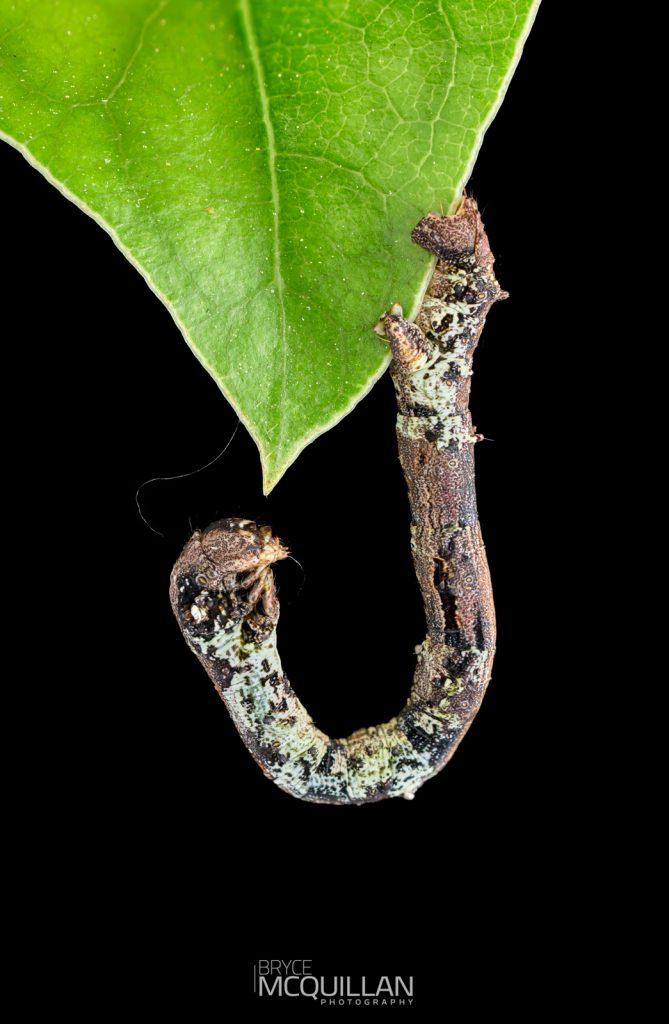
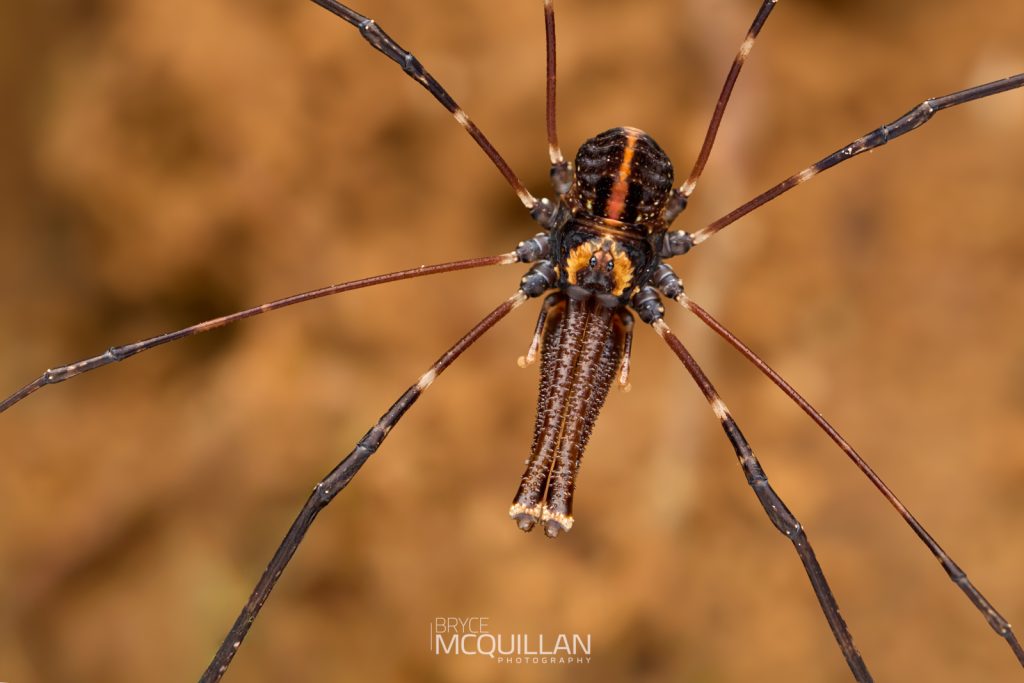
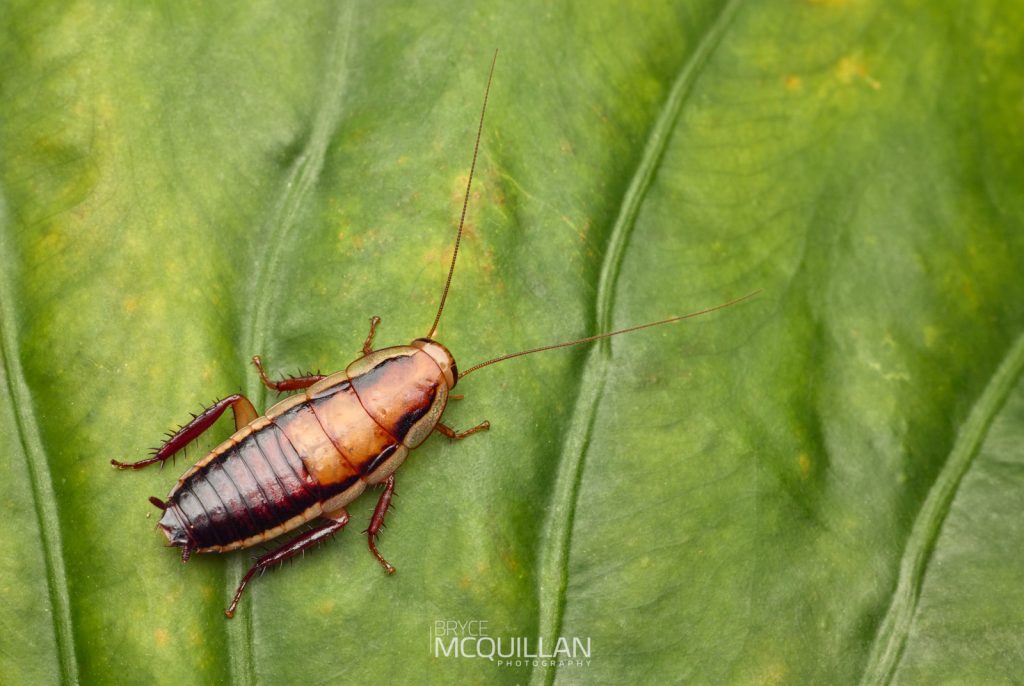
Below are some images captured with the diffuses mentioned above.
Concave diffuser
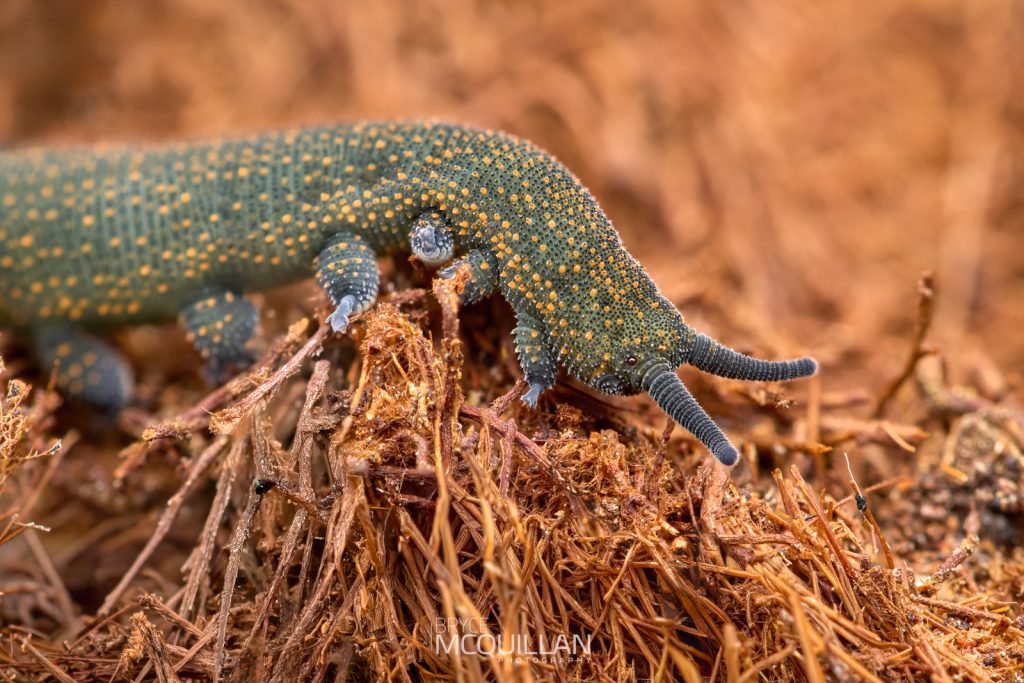
Curved diffuser