
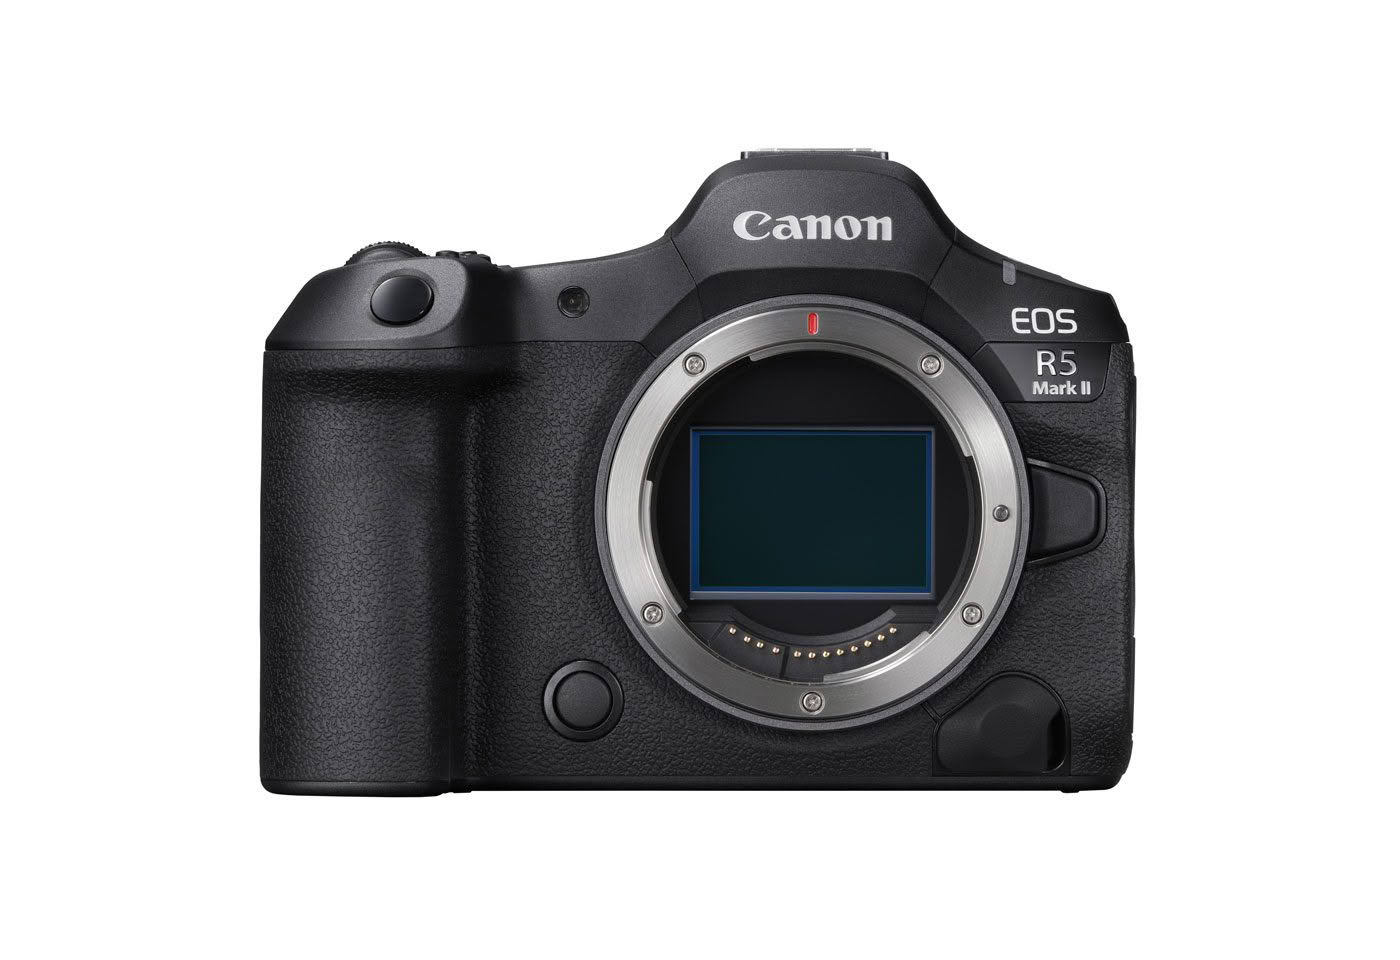
Canon EOS R5 Mark II
The best Canon I've used for macro.
A camera designed with the macro and wildlife photographer in mind.
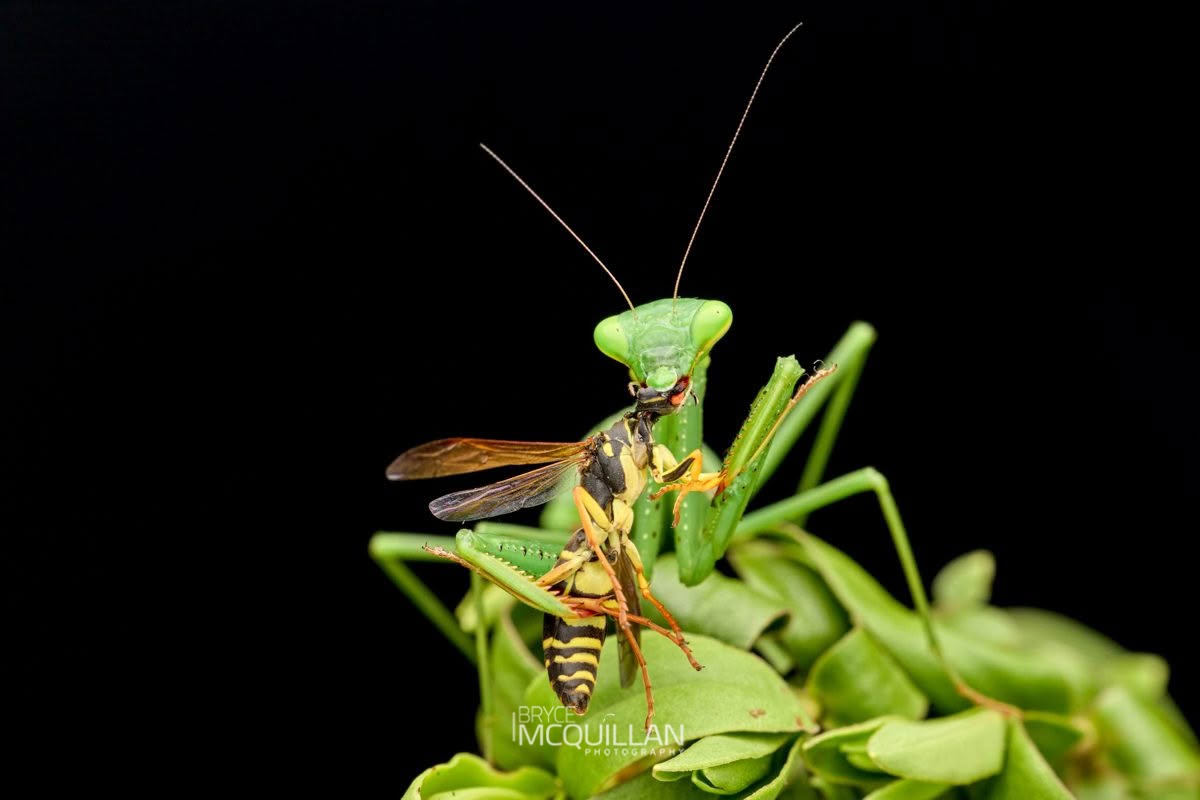
South African praying mantis|Canon EOS R5 Mark II + RF 100mm F2.8 L Macro IS USM |1/100 sec · f/13 · ISO 160
The limits are now set by our imagination, not the equipment.
In August 2024, Canon released the EOS R5 Mark II. The original R5 was already one of the best cameras on the market for wildlife photography at the time, but the Mark II has added features that have made a real difference to the macro and wildlife photography I do.
I specialise in macro photography of New Zealand's endemic flora and fauna, and I rarely get to photograph them under perfect conditions. Invertebrates move, plants sway in the wind, the light changes, and some subjects give you only split seconds to make the photograph. With the R5 Mark II, those conditions are easier to work around. Photographs I once would not have attempted are now possible, and the camera is less often the limiting factor.
Depth exactly where I want it
In-camera focus bracketing lets me build depth through a subject while using apertures that retain more detail, and guide the viewer's eye to the details that matter.
The trade-off between depth and sharpness
Every macro photographer faces the same trade-off. Stopping down gives more depth of field, but less light reaches the sensor and diffraction begins to soften the image.
For the shorter stacks I often use in the field, f/11 usually gives me the best balance between depth of field and sharpness. Some photographers stop down to f/16, but in my experience the extra depth is limited and not worth the loss of light and sharpness. I do not see a real improvement in depth until around f/25, and by then there is a noticeable drop in sharpness.
Photographers using other camera systems can achieve excellent results at f/25. My good friend Danilo Hegg of Southern Alps Photography is one of them. Every camera system and lens behaves differently.
Before in-camera focus bracketing
Before in-camera focus bracketing, I had to turn the focus ring by hand or move the camera between frames. It was slow and could leave uneven steps, with bands of missed focus.
I still use manual-focus lenses such as the Canon MP-E 65mm in the field. Now that the Mark II’s electronic shutter works with flash, I can capture frames much faster than before. For precise movement at magnifications higher than 1:1, such as 2:1 or 3:1, or when working with manual-focus lenses, an automated rail such as the StackShot is still the better option. It is a heavy piece of kit and needs a very stable platform. With an autofocus lens, the R5 Mark II can handle the focus movement in camera with one press of the shutter.
 StackShot macro rail package, Cognisys →
My focus bracketing settings
There is no one rule for every subject. These are the settings that work for me. The right combination is trial and error, depending on subject size and depth of field, so it is worth finding what works for you by testing in a controlled environment at home.
Key tipFocus bracketing switches off when the camera is turned off, so it is worth checking it is still enabled before an important photograph. Canon's focus bracketing guide →
Choose the depth the photograph needs
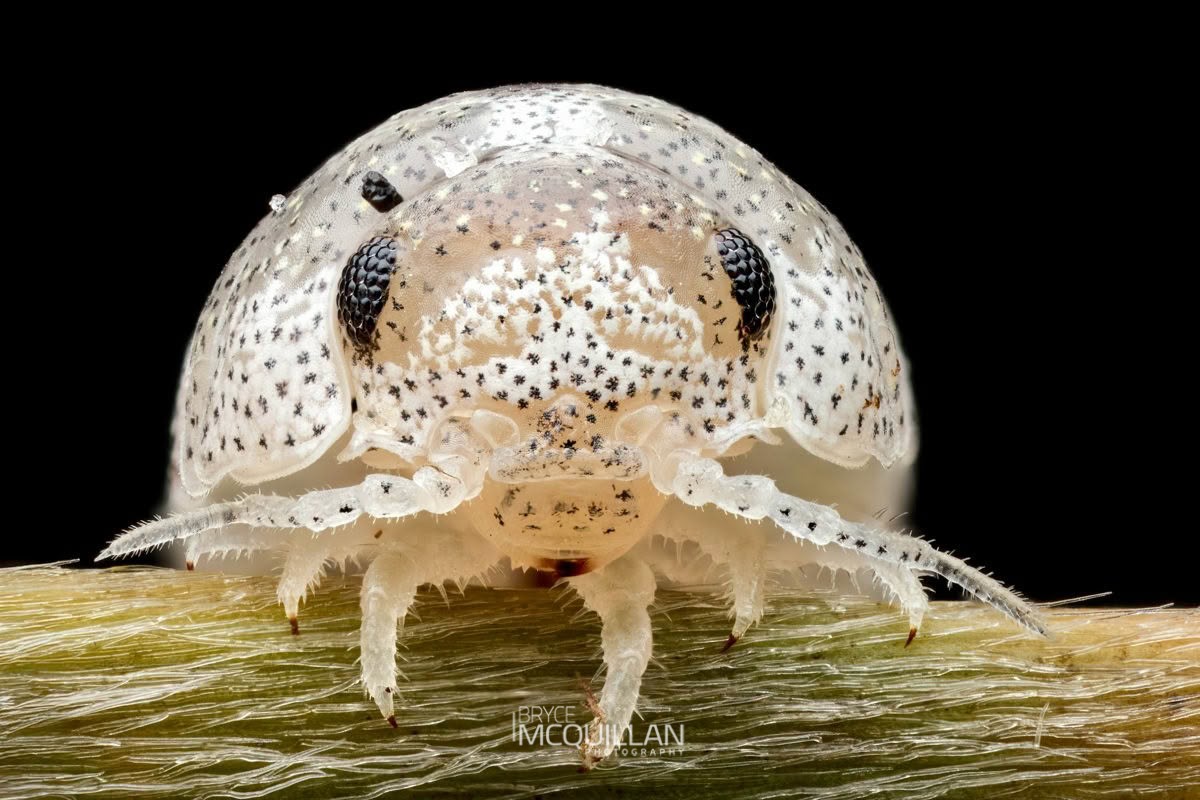
Focus bracketing is not about making every millimetre of the subject sharp. It is about putting the depth where it tells the story.
Stacking tips
Start at the closest point you want sharp. Focus only moves away from you, so anything in front of it won't be sharp.
I only use enough frames to get what I need in focus. Too many frames can cause alignment issues, halos and other stacking artefacts.
The Helicon Soft forum and Photomacrography.net have an amazing amount of information and resources on focus stacking.
Focus bracketing with flash
For me, one of the most useful changes is being able to use flash during focus bracketing.

A seven-frame stack in under a second
I captured this focus stack with flash in under a second, just moments before the frog jumped away. It was one of those brief opportunities where everything just worked in that split second: focus, bracketing and flash. The R5 Mark II was fast enough with flash that I could capture the full series of images for the stack before the frog moved.
Flash, now with the electronic shutter.
The original R5 already had very capable in-camera focus bracketing, but it could not fire flash during the sequence. The Mark II changes that.
With a compatible Speedlite, each frame can be lit consistently while helping to freeze subject movement. The camera can capture these sequences quickly enough to be useful with live subjects, letting me attempt flash-lit stacks in the field that would previously have been difficult.
Why the flash has to keep up
If the flash can't keep up, you lose much of the speed that makes this so useful when photographing live subjects.
Flash usedCanon Speedlite EL-1 →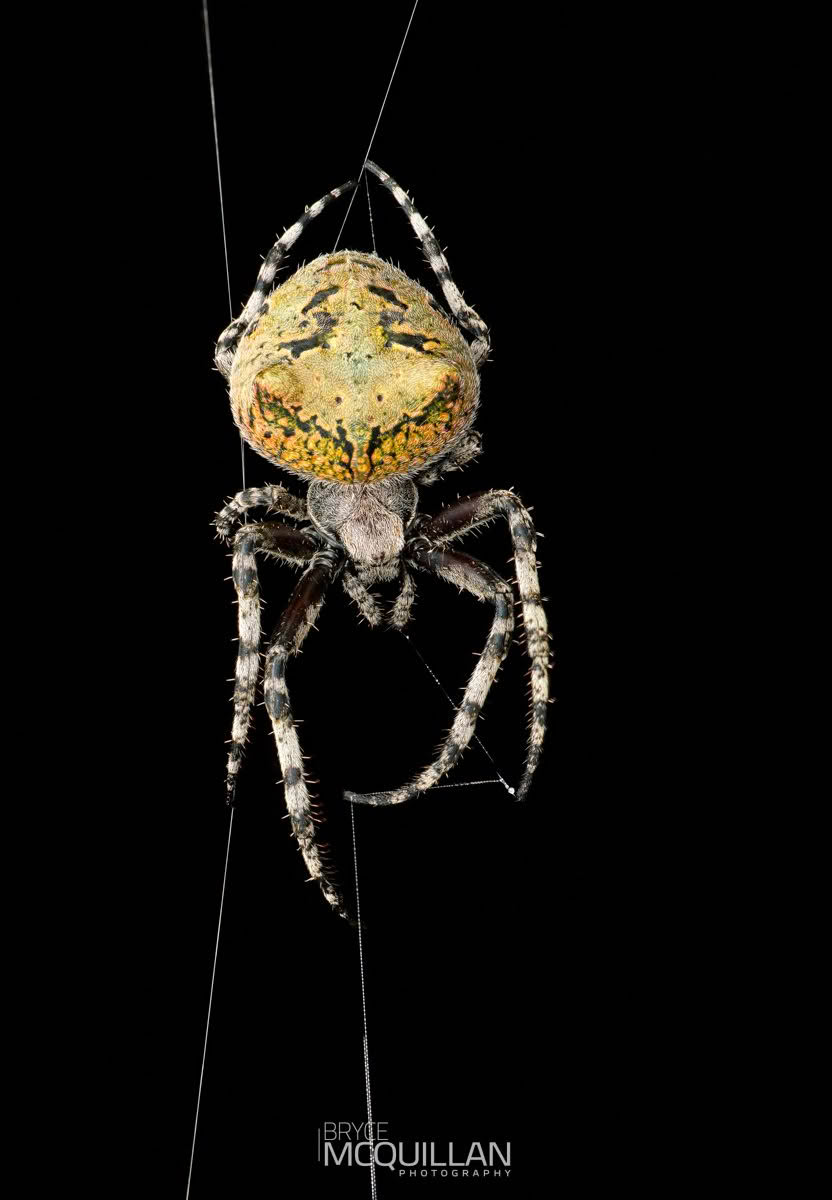
I nearly always use flash through a diffuser for macro photography. I use a couple of Beetle Diffuser models, and their diffusion material gives me soft, even light while still allowing enough output for fast focus-bracketing sequences.
I still build and use my own custom diffusers depending on the subject and working distance, but I now use the same diffusion material used in the Beetle Diffusers. I liked the material enough that I bought it directly from Varun to use in my own designs.
Some opportunities you only get once

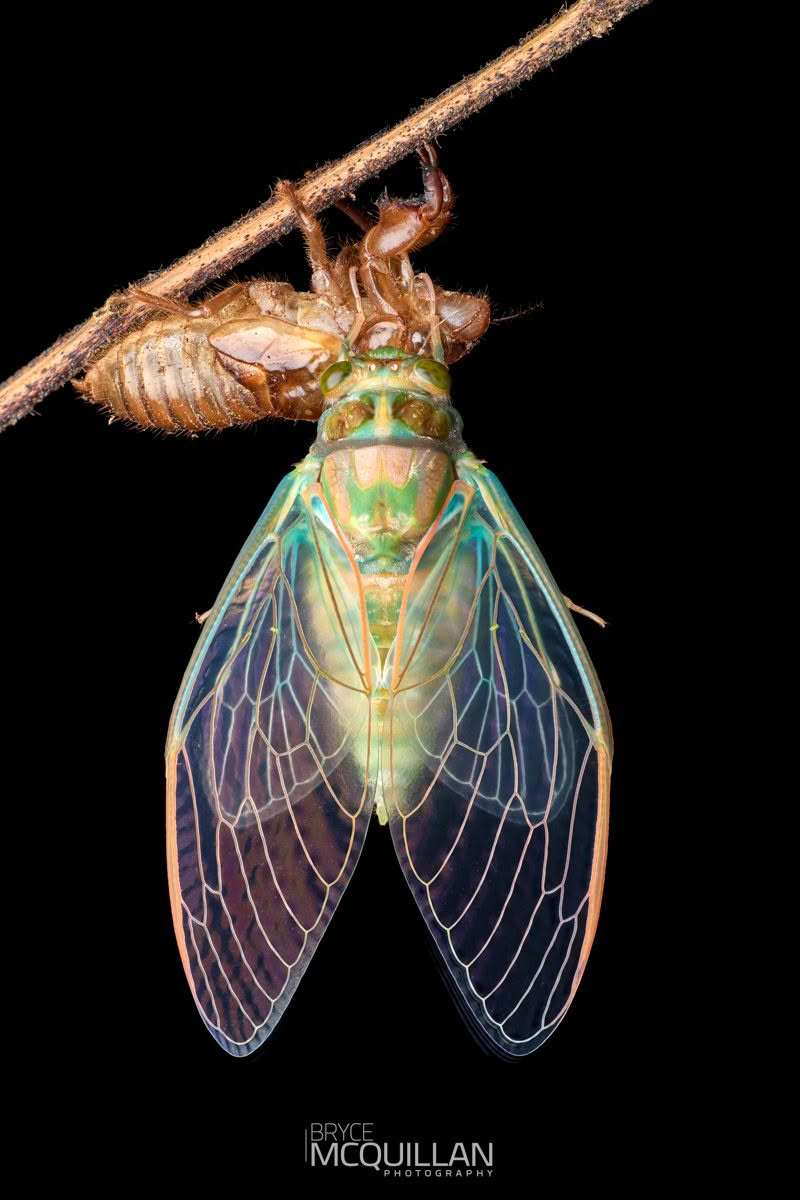

Flash control when the subject moves
Close flash gives me the working aperture and short duration needed for a moving subject, while the diffuser keeps the light controlled and natural-looking.
Finding the balance
There is no single setting that works for every subject. I normally adjust the number of frames, aperture and flash power depending on how much time I have and how likely the subject is to move.
Keeping it quick
I normally set the flash interval to 0, so the camera takes the next frame as soon as the EL‑1 is ready. Keeping the flash power low also helps keep the process quick.
E-TTL or manual?
Manual for consistent output; E-TTL when distance or composition is changing. More detail below.
A few practical considerations
Focus-bracketed work can use a lot of battery power and create plenty of files, so I always carry spare camera and flash batteries, along with plenty of card space.
Flash control in practice
Manual flash
Manual is my usual choice when I want consistent output from one frame to the next. With the Beetle Pro diffuser, I often begin at 1/32 power. It means a dark background does not persuade the flash to overpower the subject, and I can make small changes deliberately.
E-TTL flash
I use E-TTL when the subject distance or composition is changing quickly. I often begin at –2 flash exposure compensation, then adjust after looking at the frame. The EL-1 Select dial makes those changes quick in the field.
Behaviour that lasts a split second
The moment a predator grabs its prey happens in the blink of an eye.

More chances to capture it
A feeding interaction can change from one frame to the next: the prey moves, a bird's wings shift, or the behaviour changes in a split second. I can't ask the subject to repeat the moment. Shooting at up to 30 fps with the electronic shutter gives me far more frames to choose from when selecting the one that best shows the predator and its prey. I still have to anticipate the action and keep the subject in frame, but the extra speed gives me a much better chance of capturing the exact moment I'm after.
Recording the moment before I react
Moments like this can happen faster than I can react. A bird can pick up, toss and swallow food in a fraction of a second, and by the time I fully press the shutter the moment I wanted may already have happened. Pre-continuous shooting helps by capturing the frames immediately before I fully press the shutter, giving me a much better chance of catching the exact point in the action I was looking for.

Pre-continuous shooting starts buffering frames while the shutter button is half-pressed. When I press it fully, the camera keeps about half a second of frames from before that moment, then carries on shooting at 30 fps.
Pre-Continuous Shooting: Pre-continuous shooting uses the electronic shutter, and flash can't be used with it. For flash-lit bursts, I switch back to normal continuous shooting.
Autofocus that locks on when it matters
The autofocus finds and holds the subject quickly, whether it is a bird in flight or a small invertebrate on a leaf. The original R5 already had very capable autofocus; the Mark II improves it further.

A tiny target
With this wolf spider, the eye is where I want the viewer's attention. At macro distances, it is a tiny target with very little depth of field. The autofocus gives me a stronger starting point, even when the animal is moving or the background is busy. It does not replace careful technique, but finding the eye sooner gives me more time to make a focus stack.
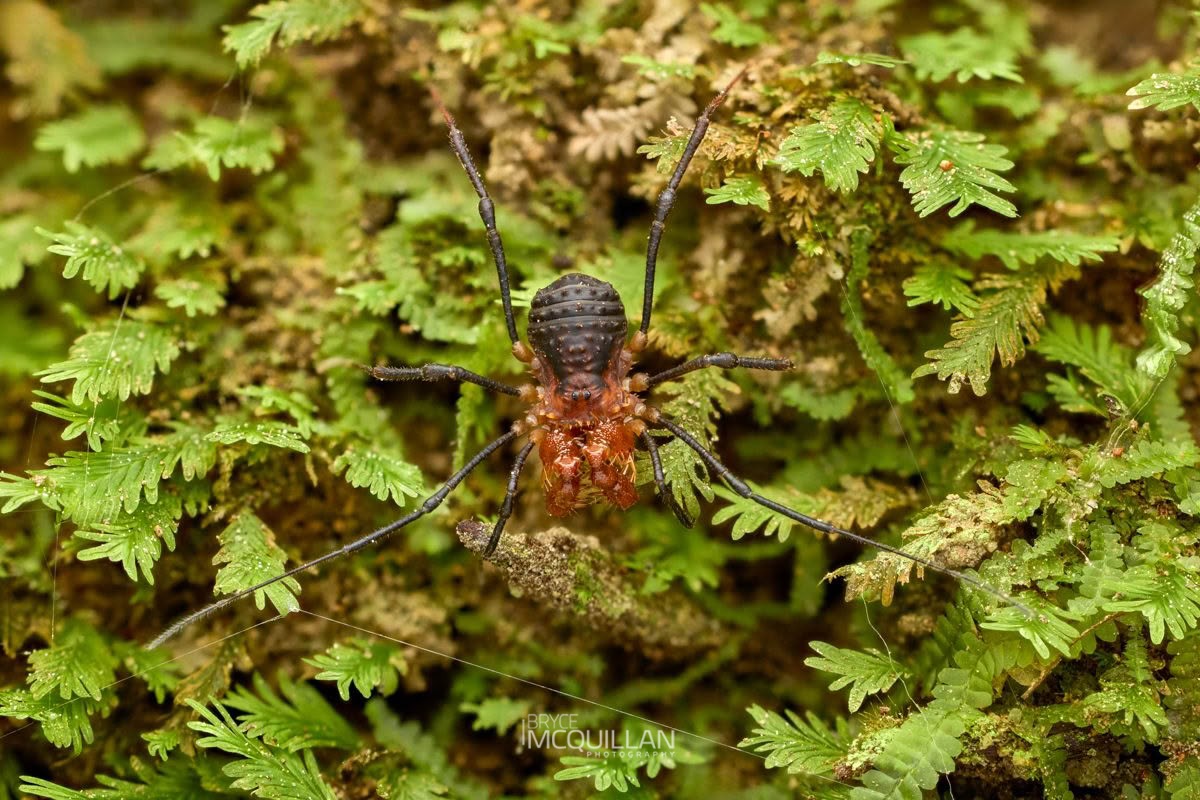
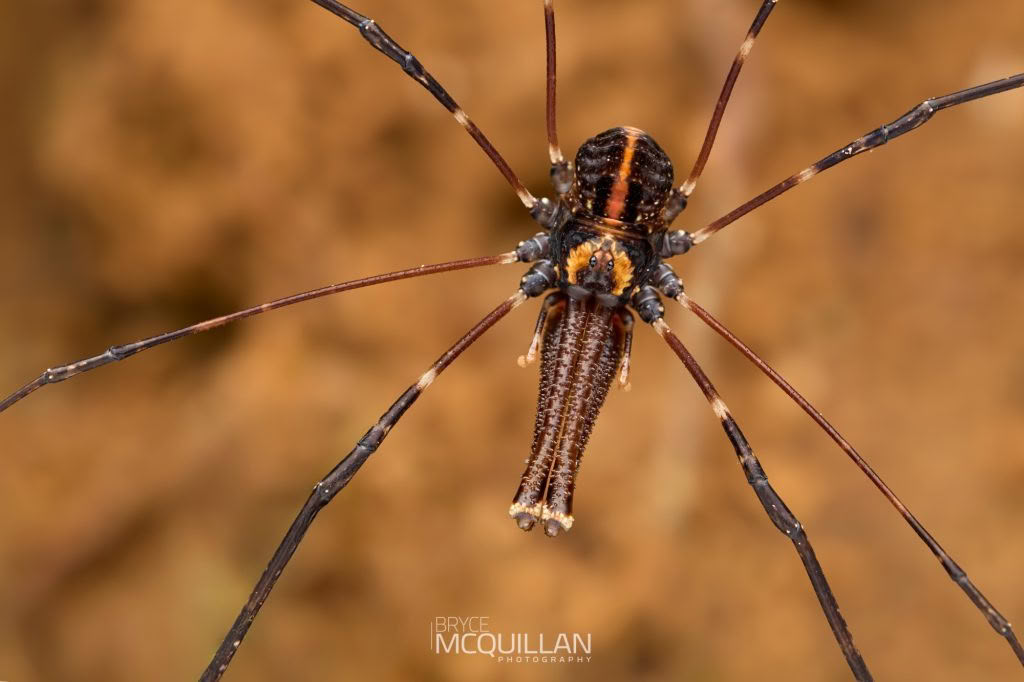
Rotorua harvestman (Sorensenella rotara)
Canon EOS R5 Mark II + Speedlite EL-1 + DIY diffuser | 1/125 sec · f/5.8 · ISO 200 · 8-image focus stack
Eyes found when the subject blends in
This female Trite sp. was barely 6 mm long, but the autofocus found and held her eyes.


The spider and the leaf it was sitting on were almost the same colour, which would usually make autofocus more difficult.
Being able to find the eye quickly gives me a better starting point when the subject is small, moving, or partly hidden.
Detail that helps distinguish similar species
Resolution is not only about large prints. It lets me look closely at the small features that can matter when identifying and documenting an animal.

Triregia fairburni | A detailed photograph creates a useful record.
Often one of the quickest ways to separate similar-looking species.
Small structural details can be difficult to assess while the animal is moving.
A high-resolution frame gives me room to inspect and crop carefully later.
A viewfinder that makes the scene easier to read
The electronic viewfinder has the same 5.76-million-dot resolution as the original R5, but it is approximately twice as bright. In the field, that makes a real difference when I am working in low light or trying to judge fine detail on a small subject.
At up to 120 fps, the view stays more fluid when I am following a moving bird or invertebrate. It does not sound like a major change on a specification sheet, but it makes the camera feel more immediate to use.
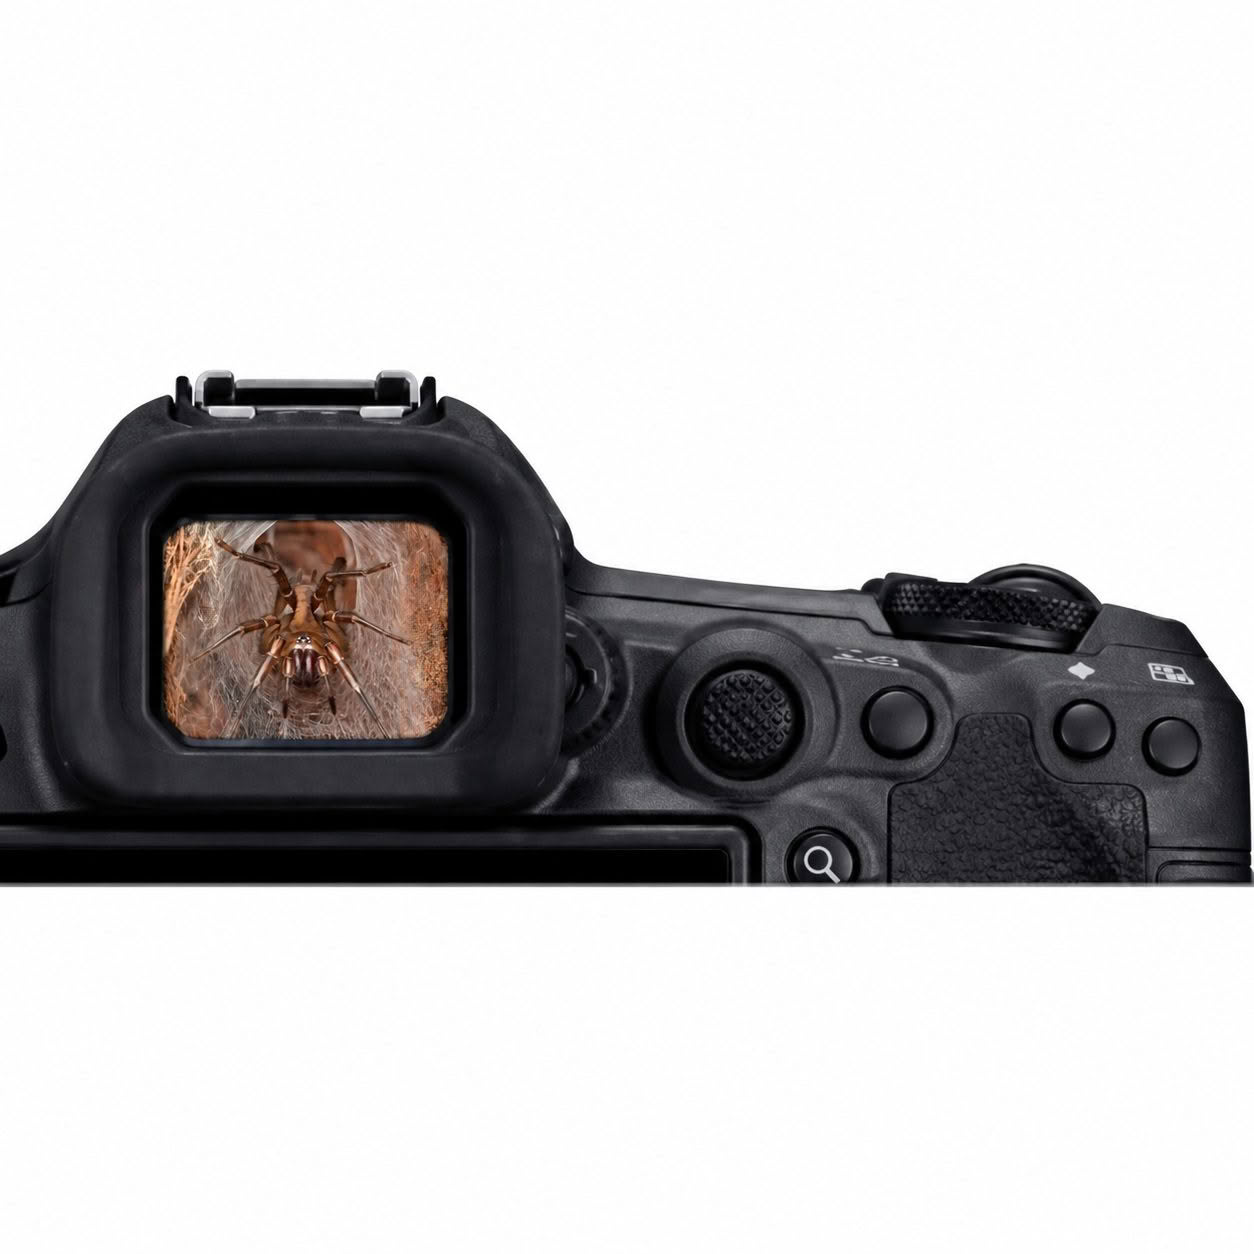
Canon R5 Mark II electronic viewfinder | The brighter viewfinder makes fine detail easier to read.
Natural-light macro
The R5 Mark II is not only about flash. These fungi photographs were made in natural light, where the small changes in colour, texture and depth are just as important.




What this camera lets me attempt
For the way I photograph, the R5 Mark II is not simply a specification upgrade. It lets me work with moving subjects, build useful depth in the field and keep the point of focus exactly where I want it. It has made more of the photographs I care about possible.